LIGHT PUZZLE
Project duration: 5 weeks
Date: Fall semester 2025
Practical, realistic design
Design a product to support students who struggle with early mornings by encouraging both physical interaction and cognitive engagement. The concept combines an alarm clock with a memorization-based puzzle, prompting increased morning brain activity to reduce drowsiness and help users feel more alert and prepared to start their day.

No more "snooze"
it's time to get rid of the traditional snooze button, that many students rely so heavily on.
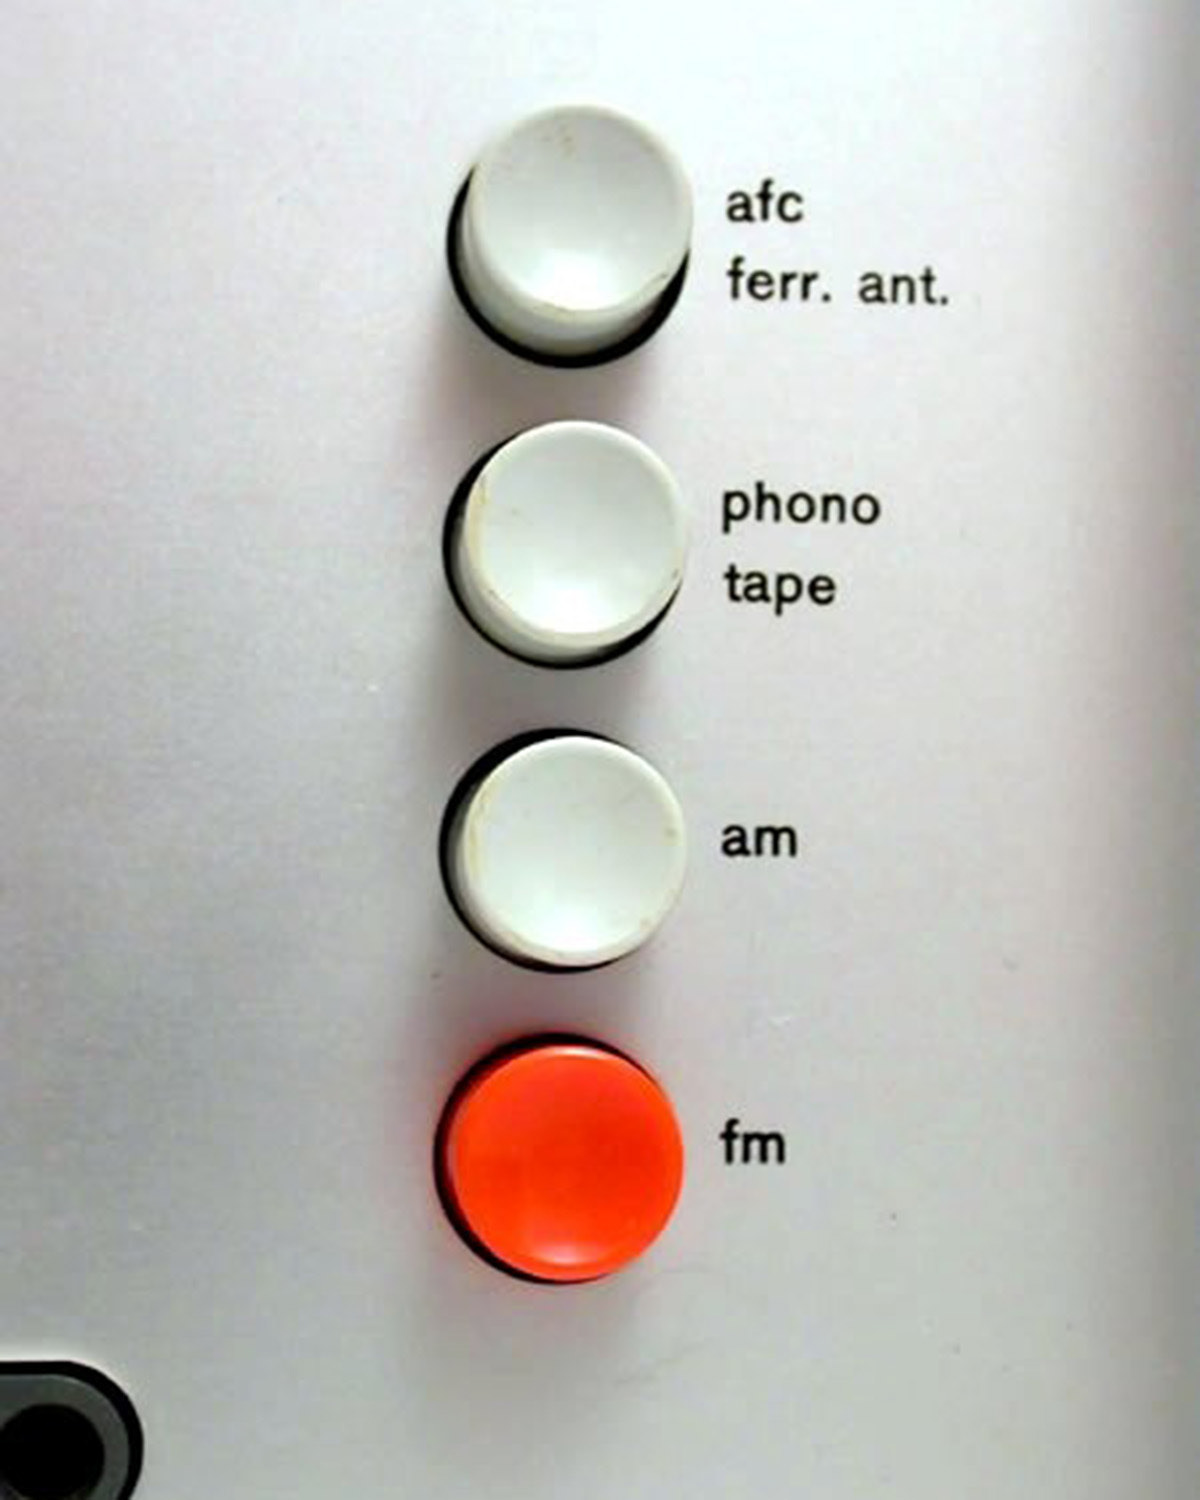
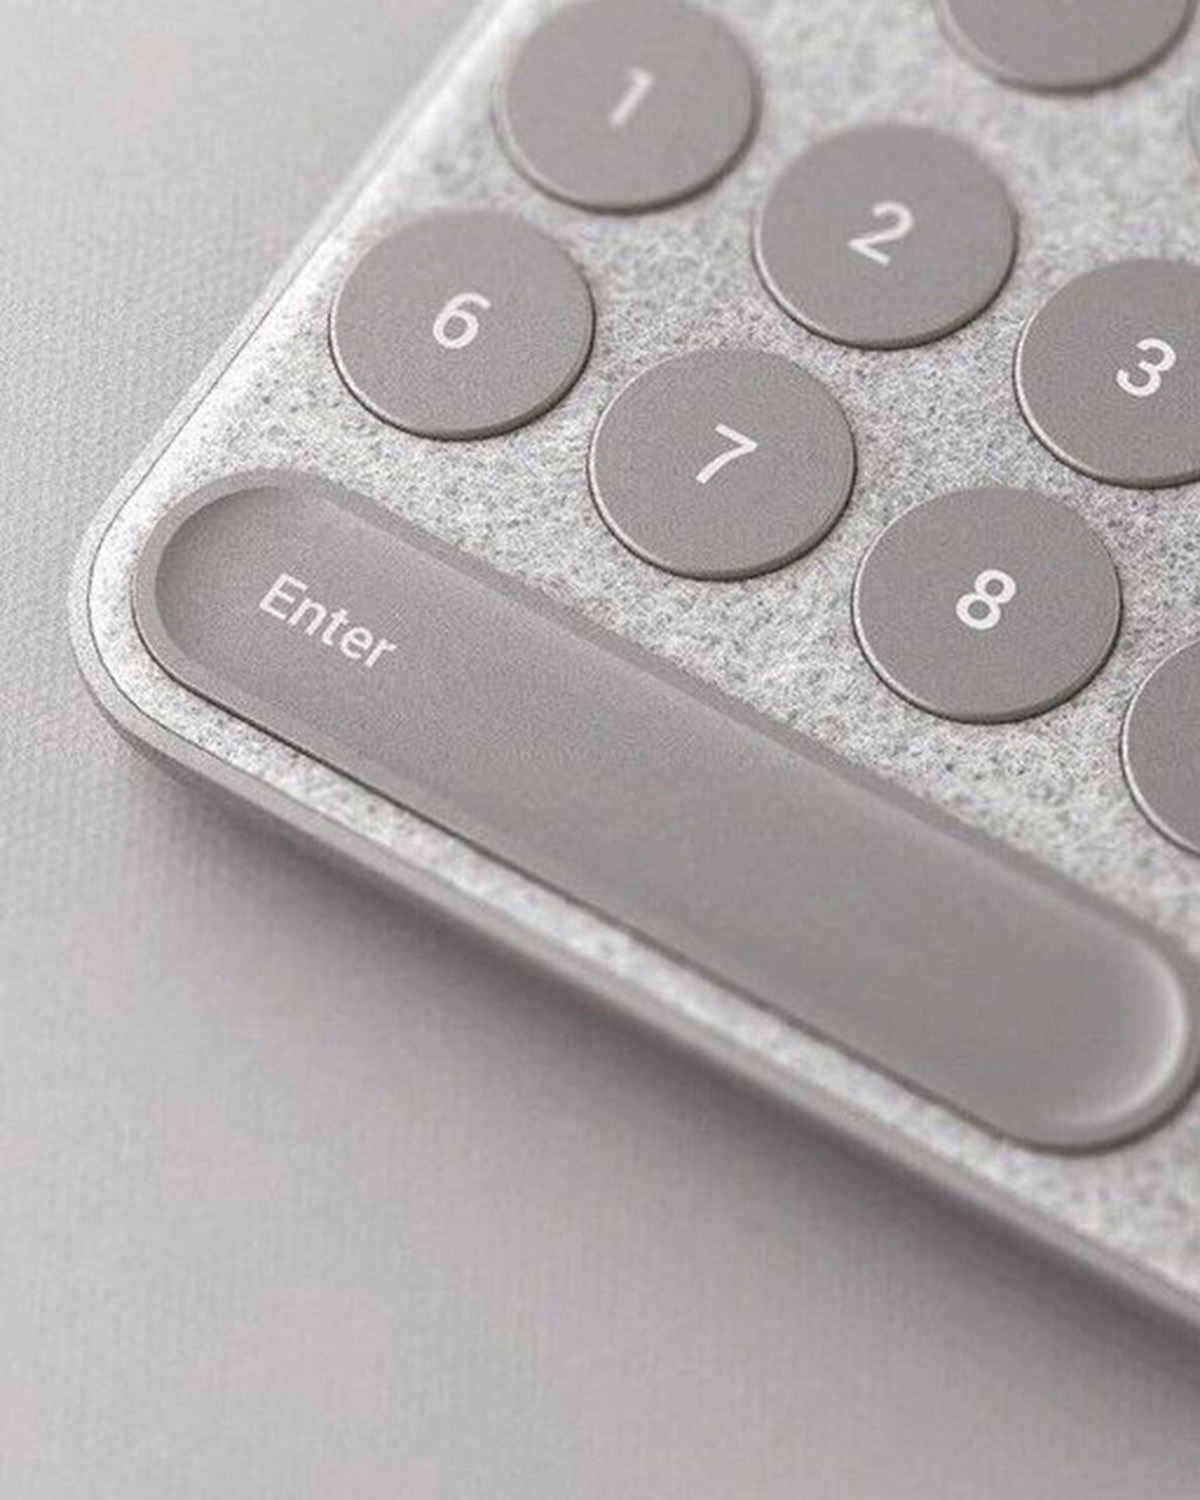
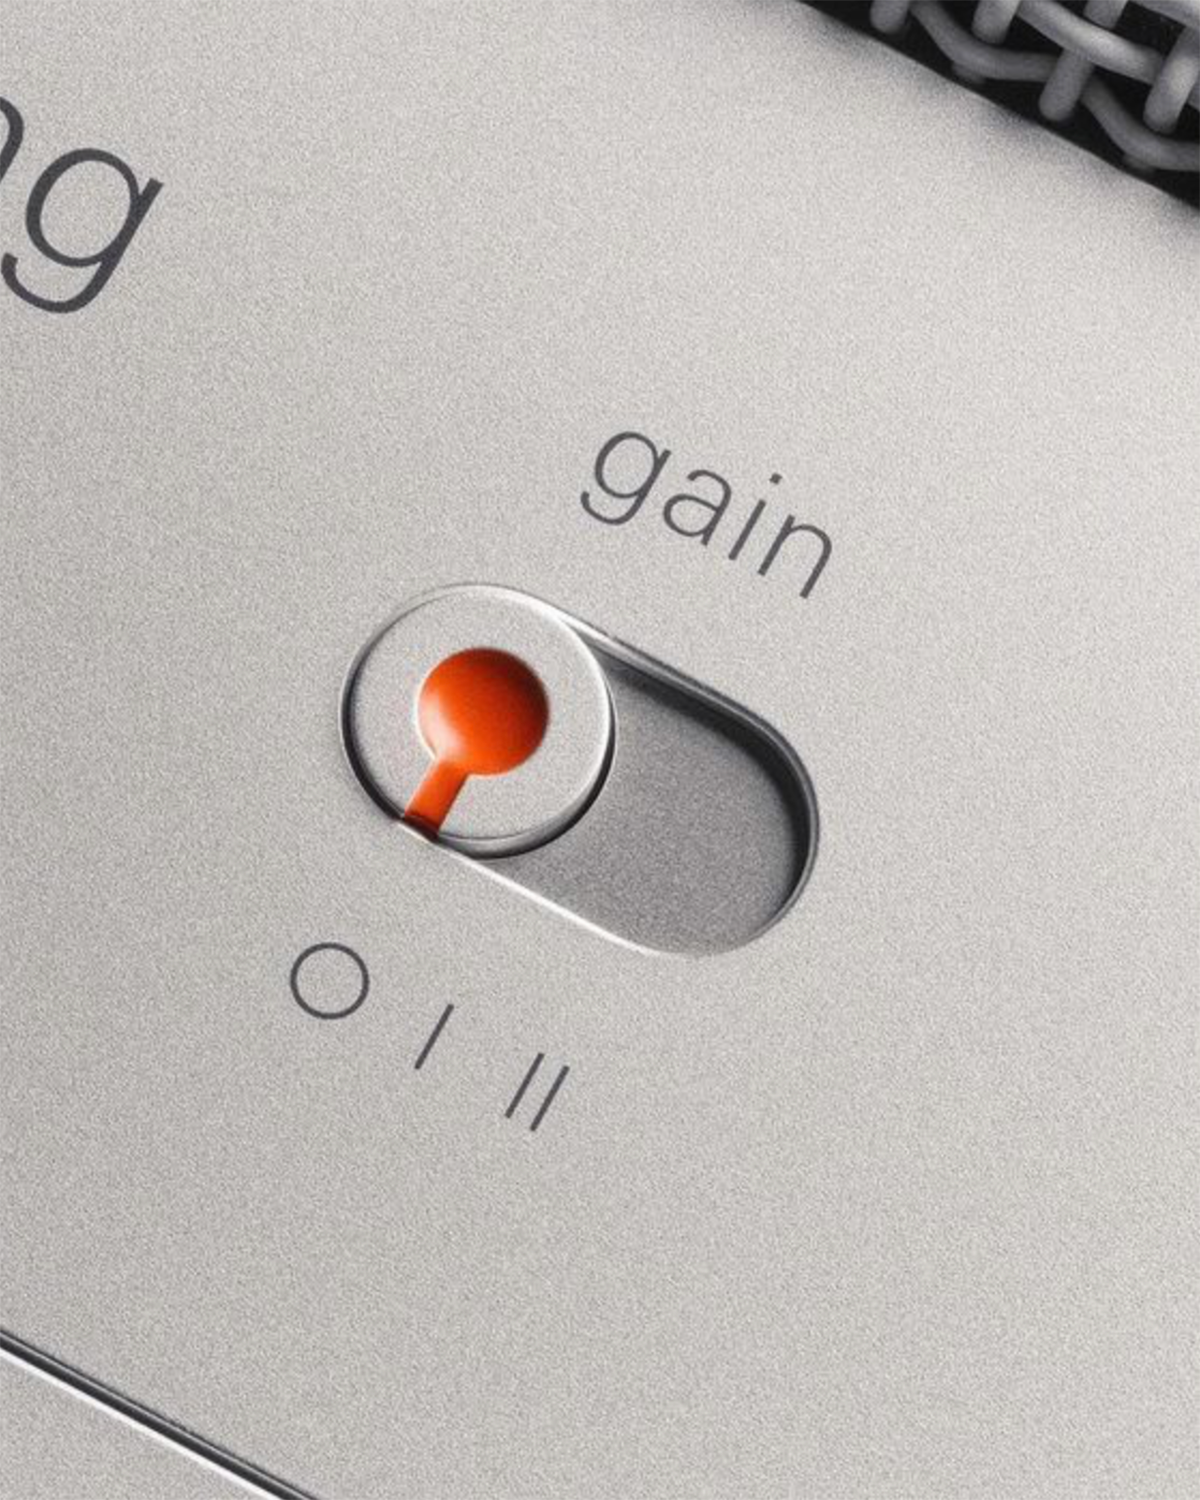
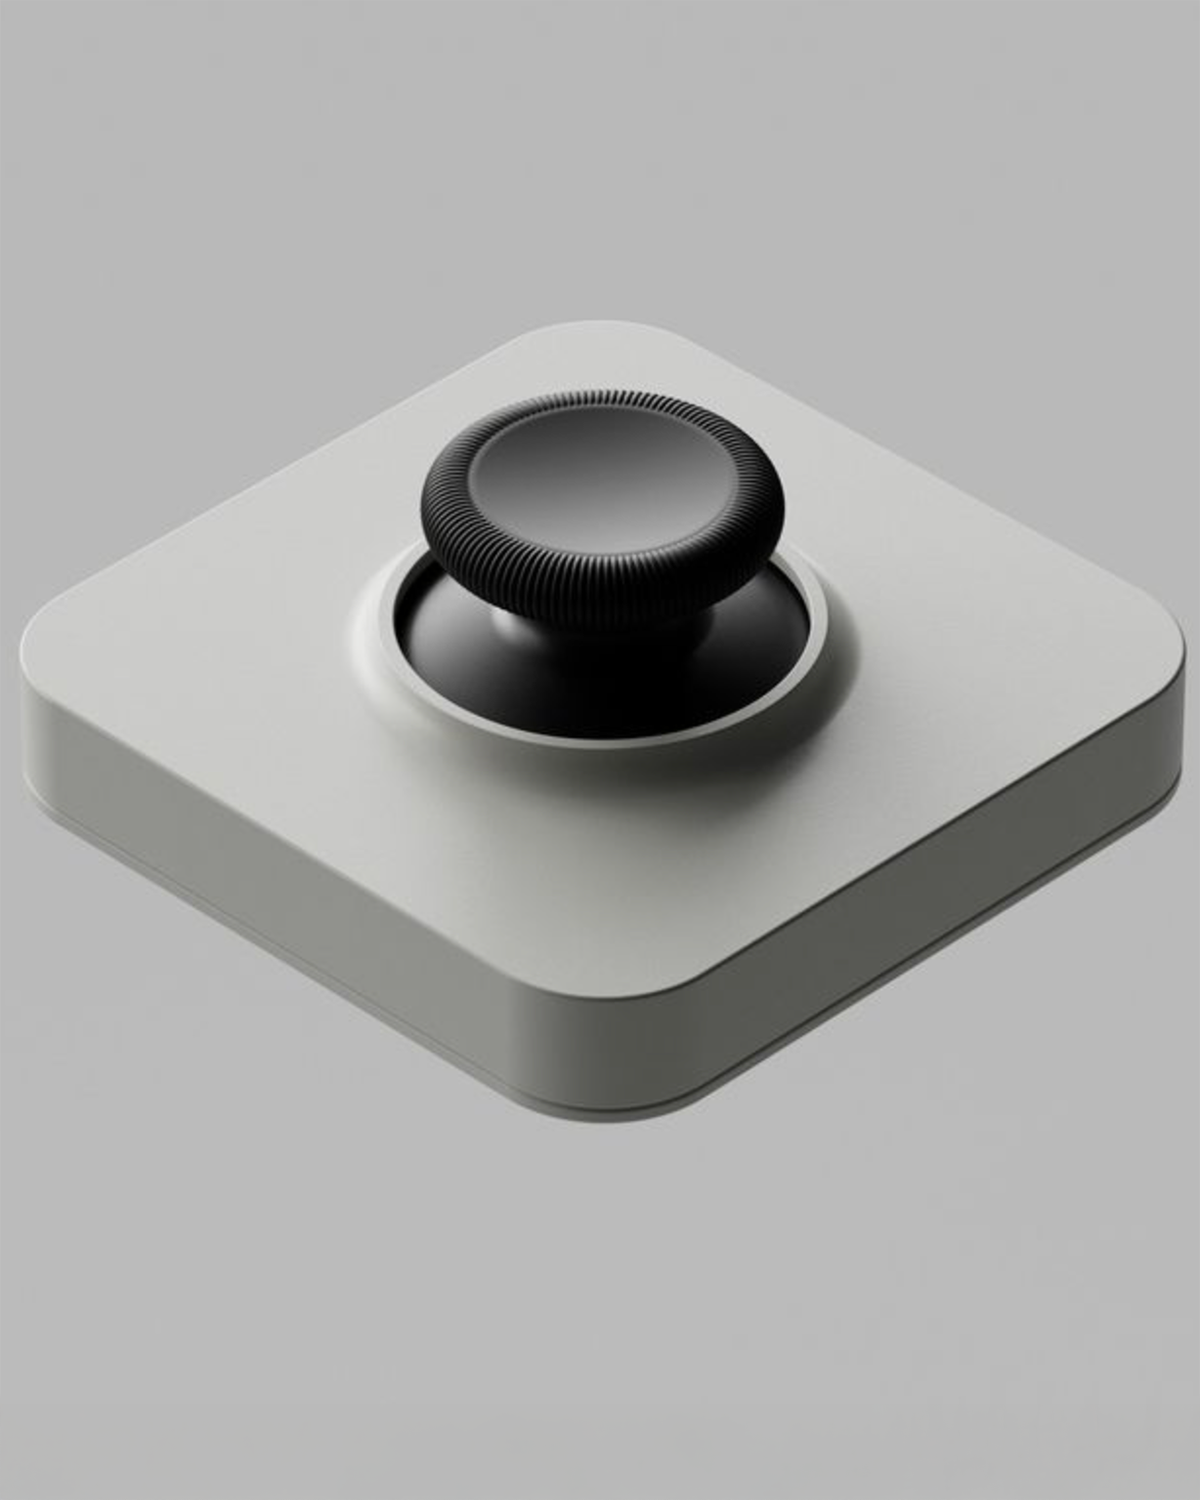
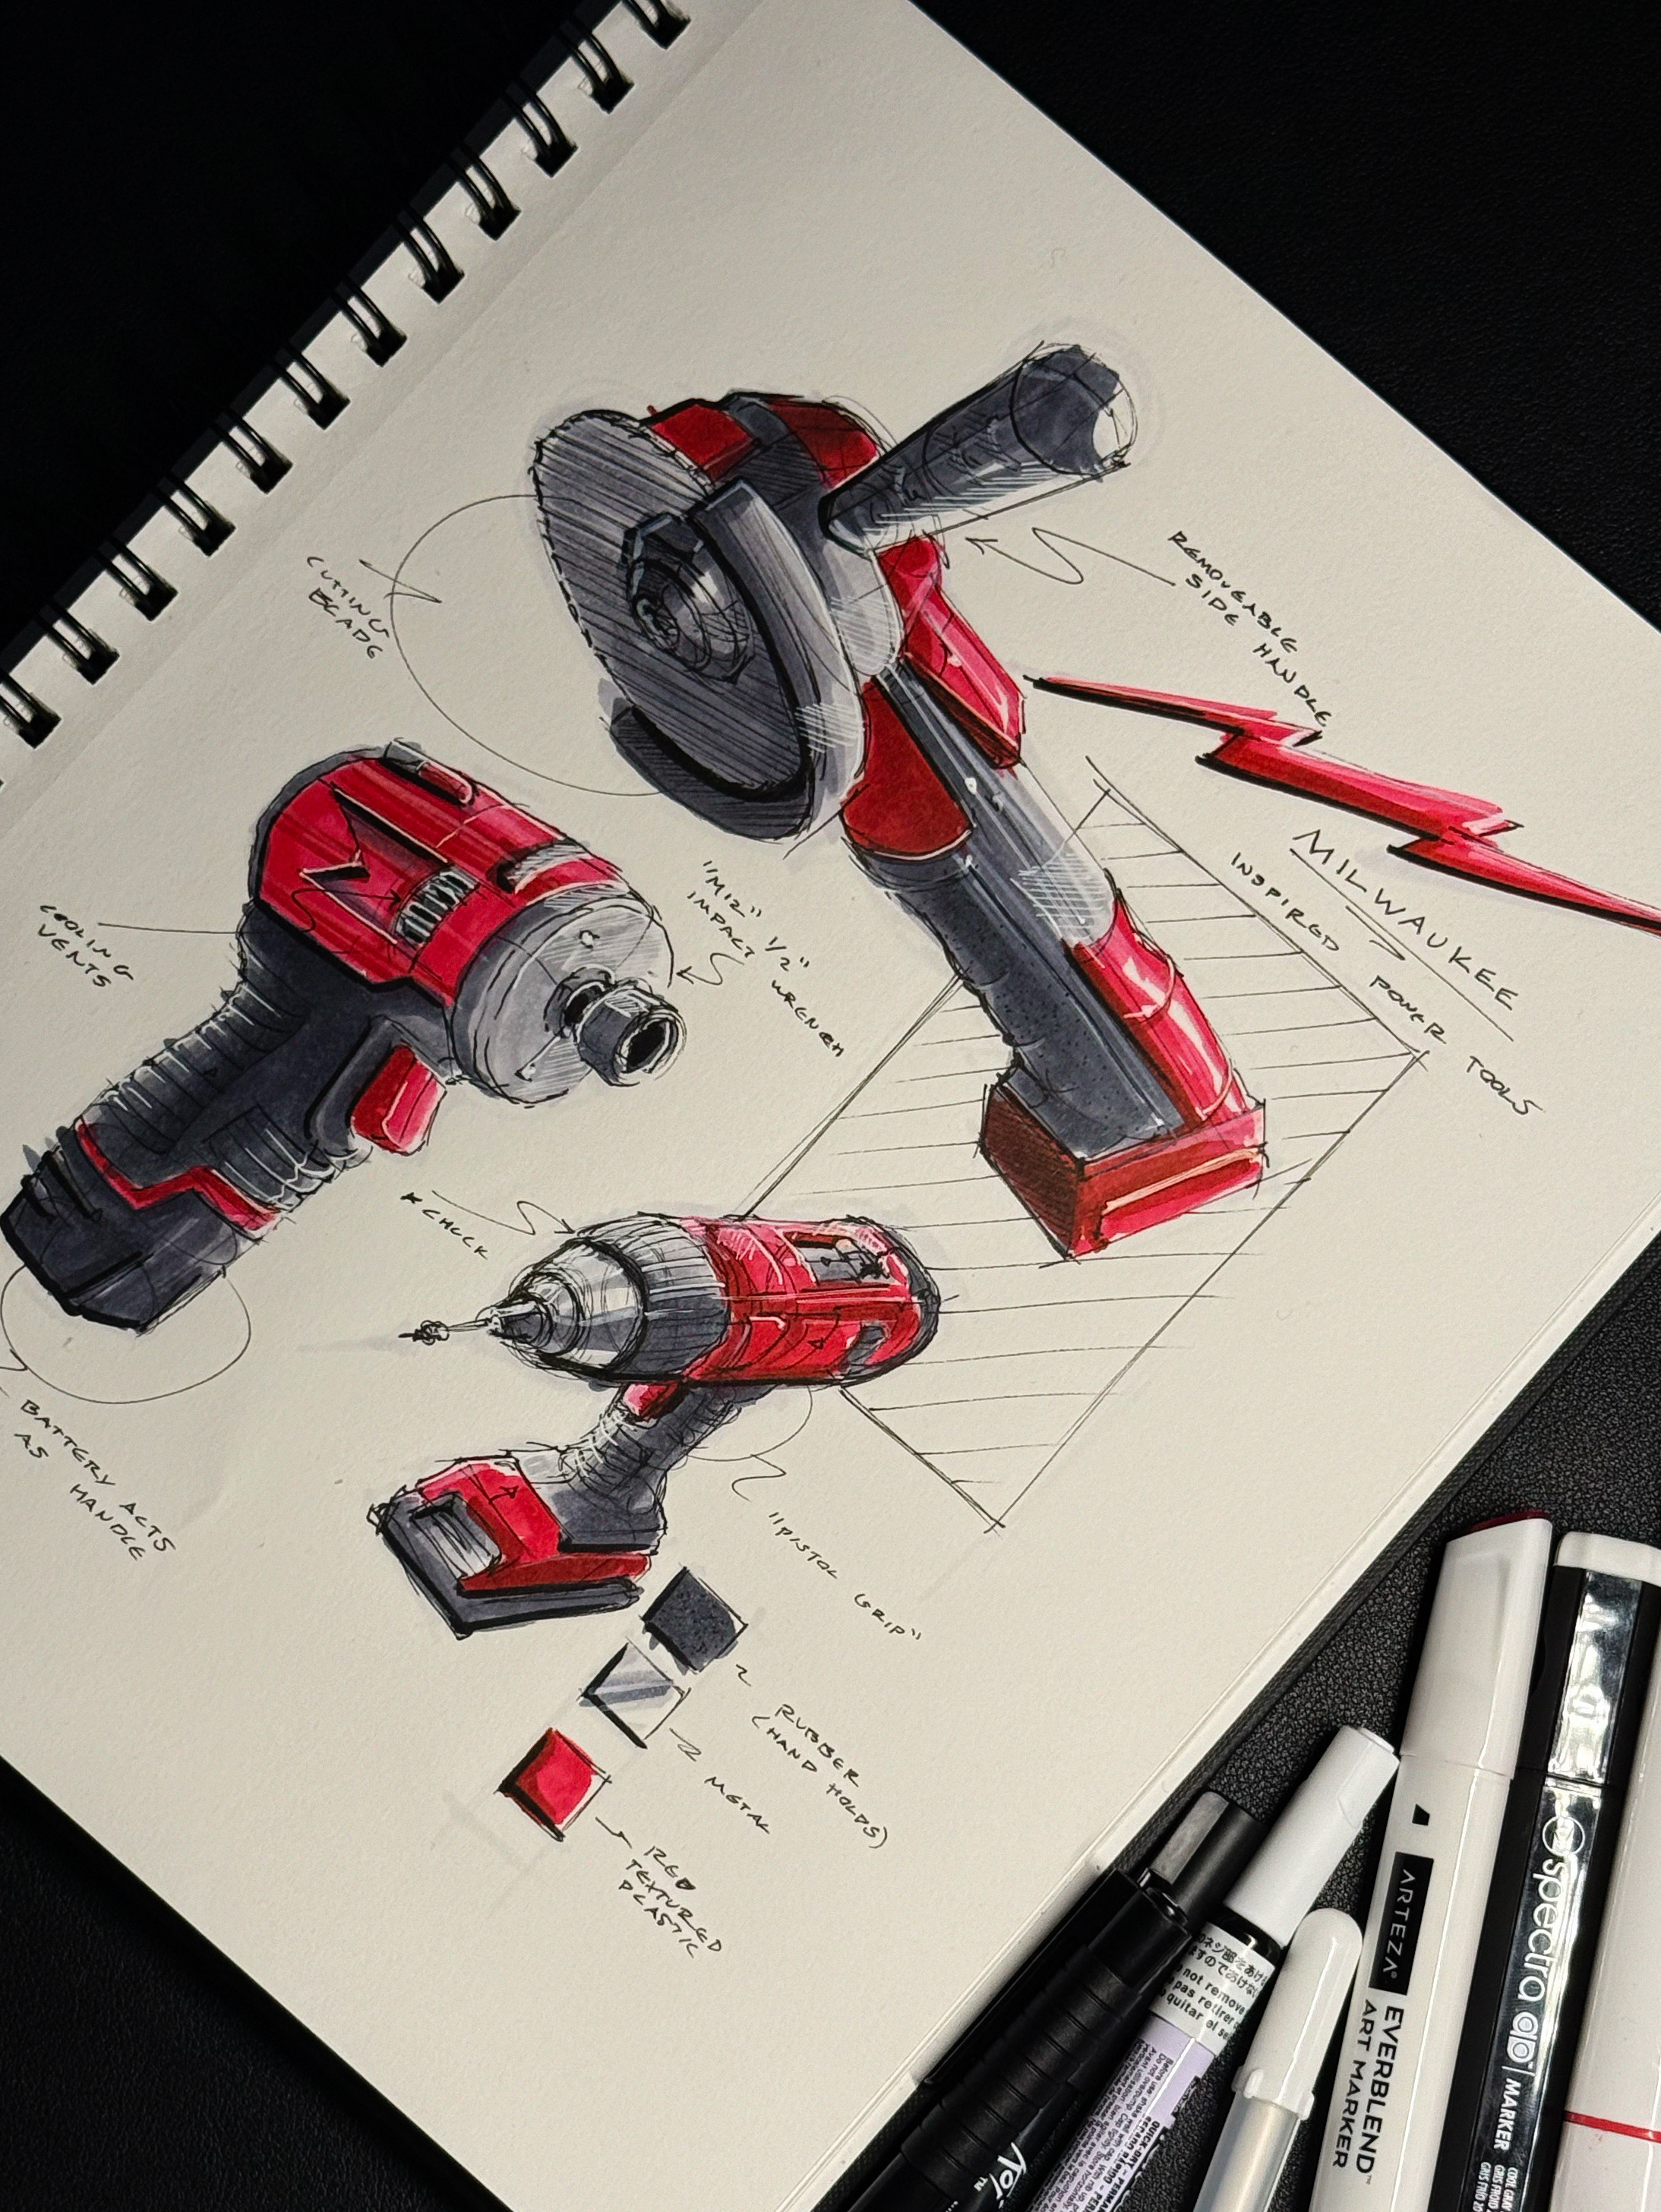
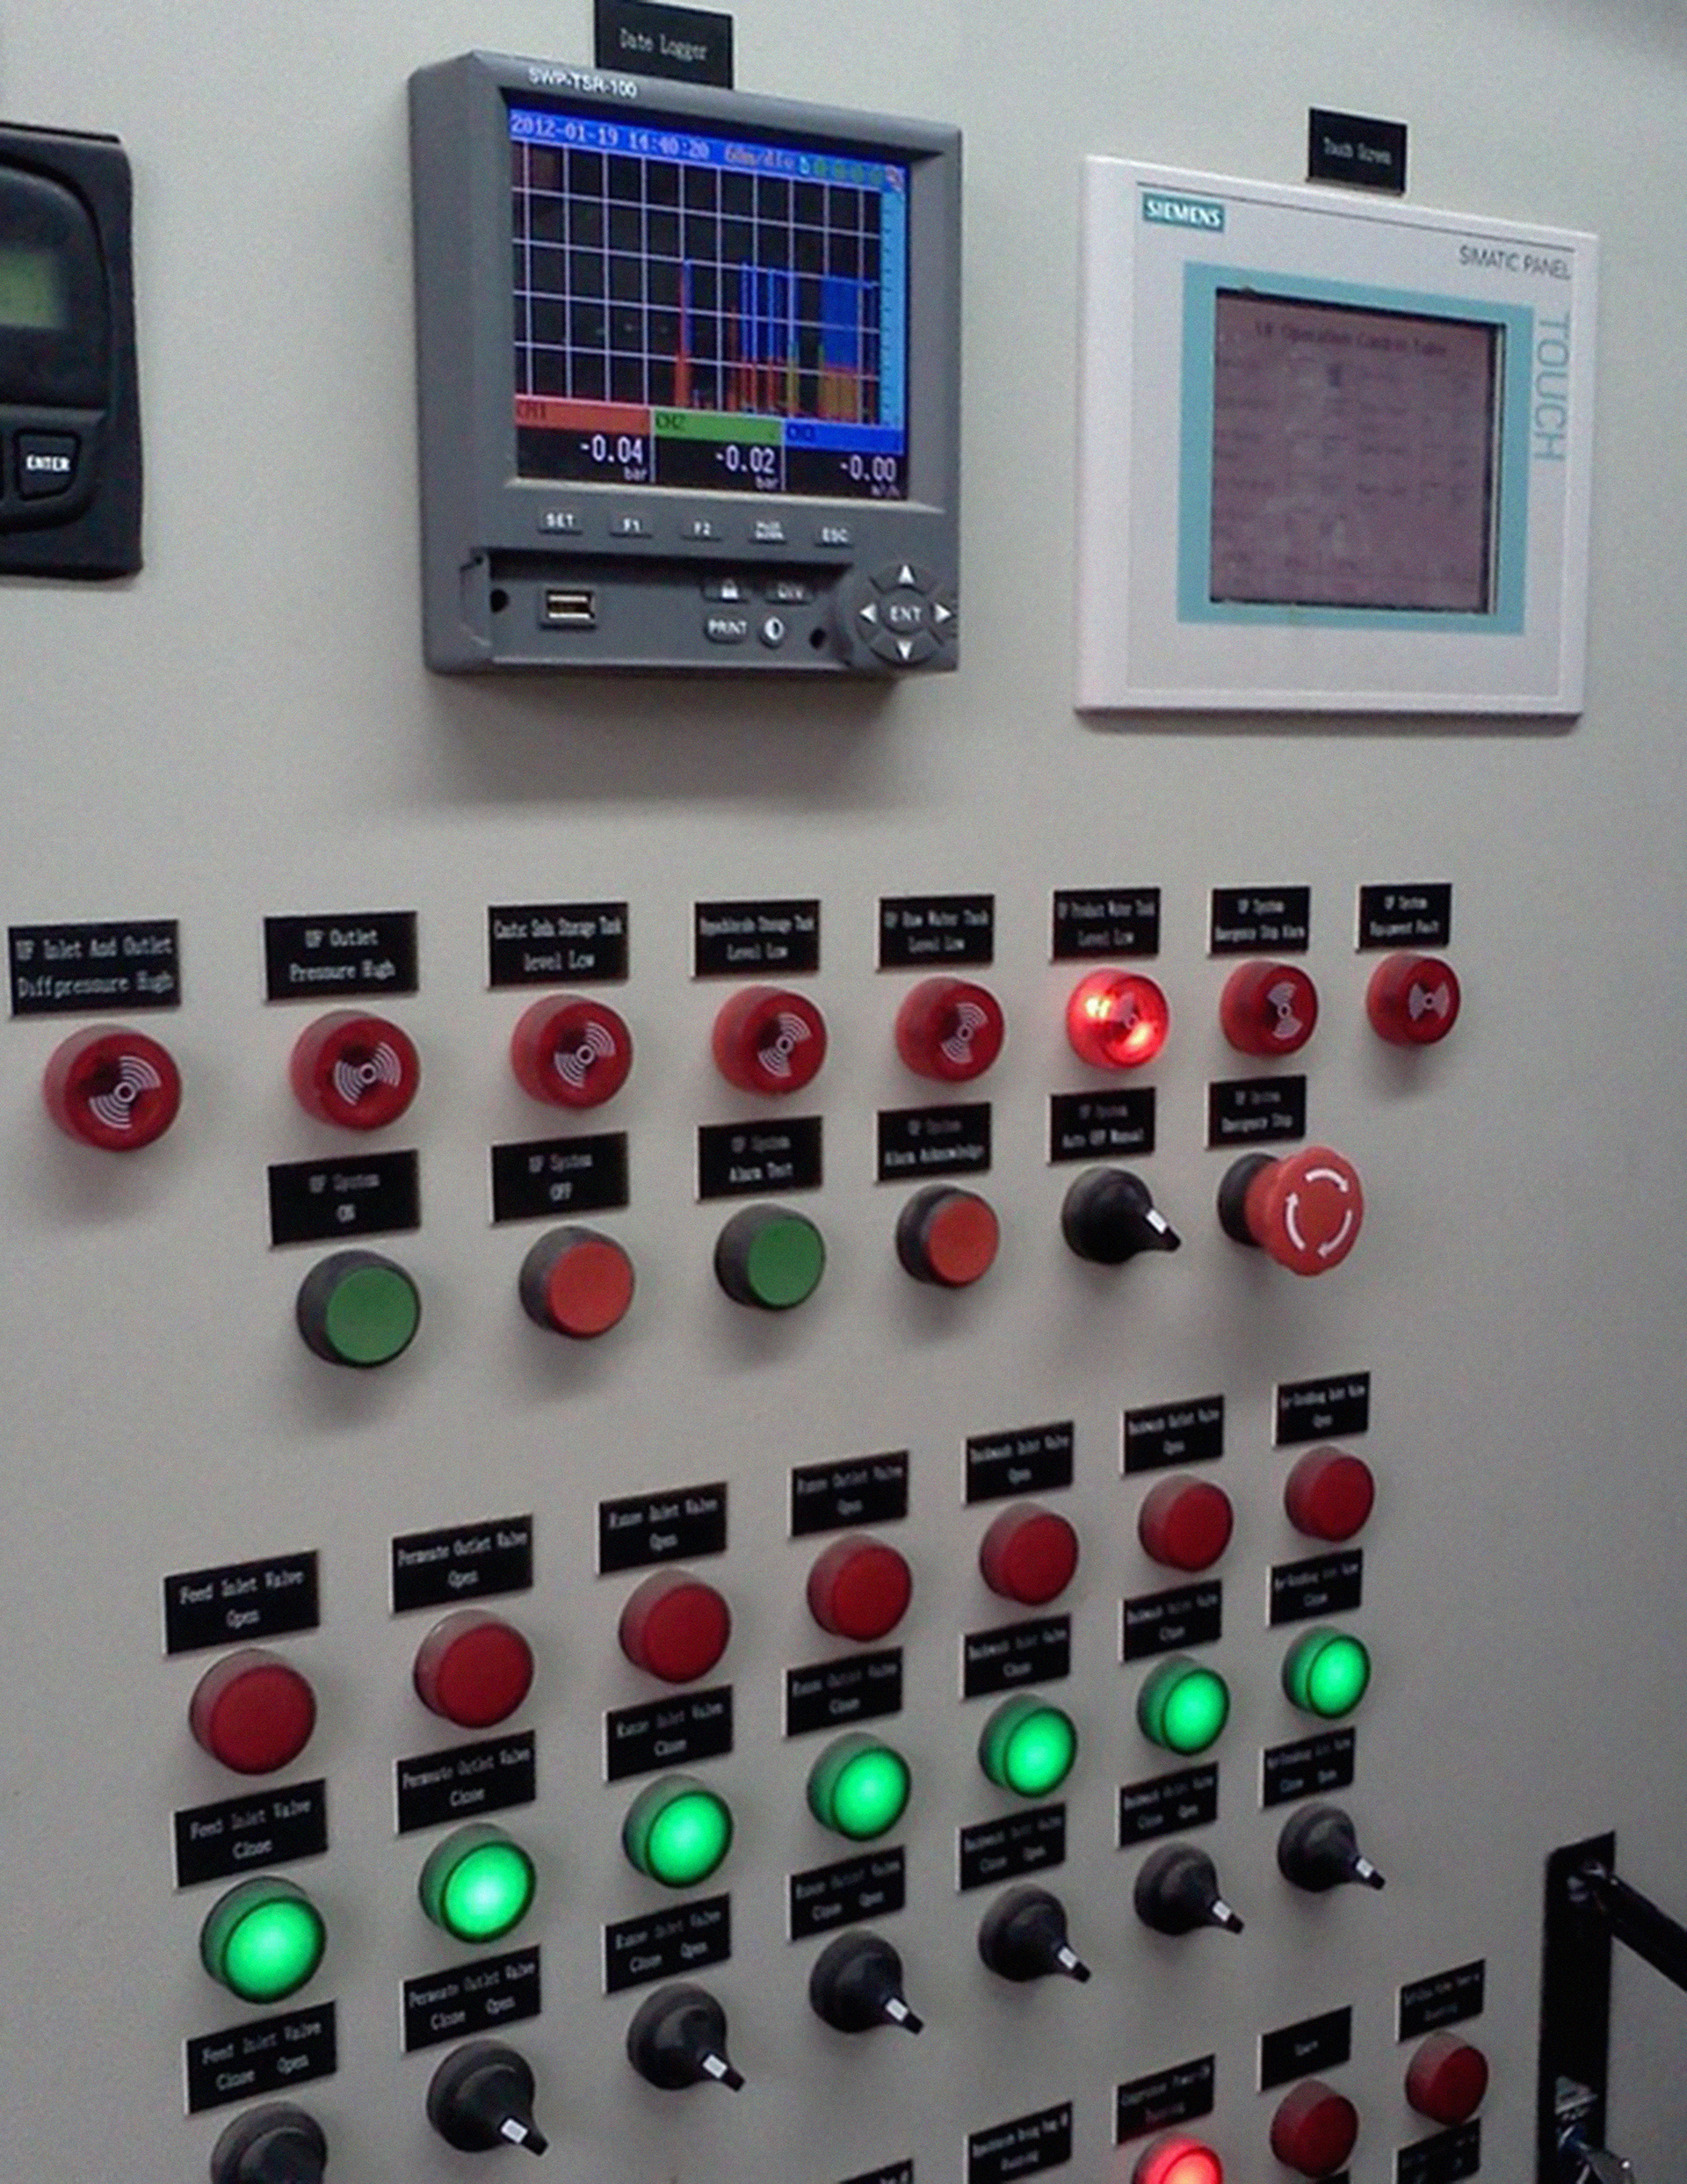
Form Inspiration
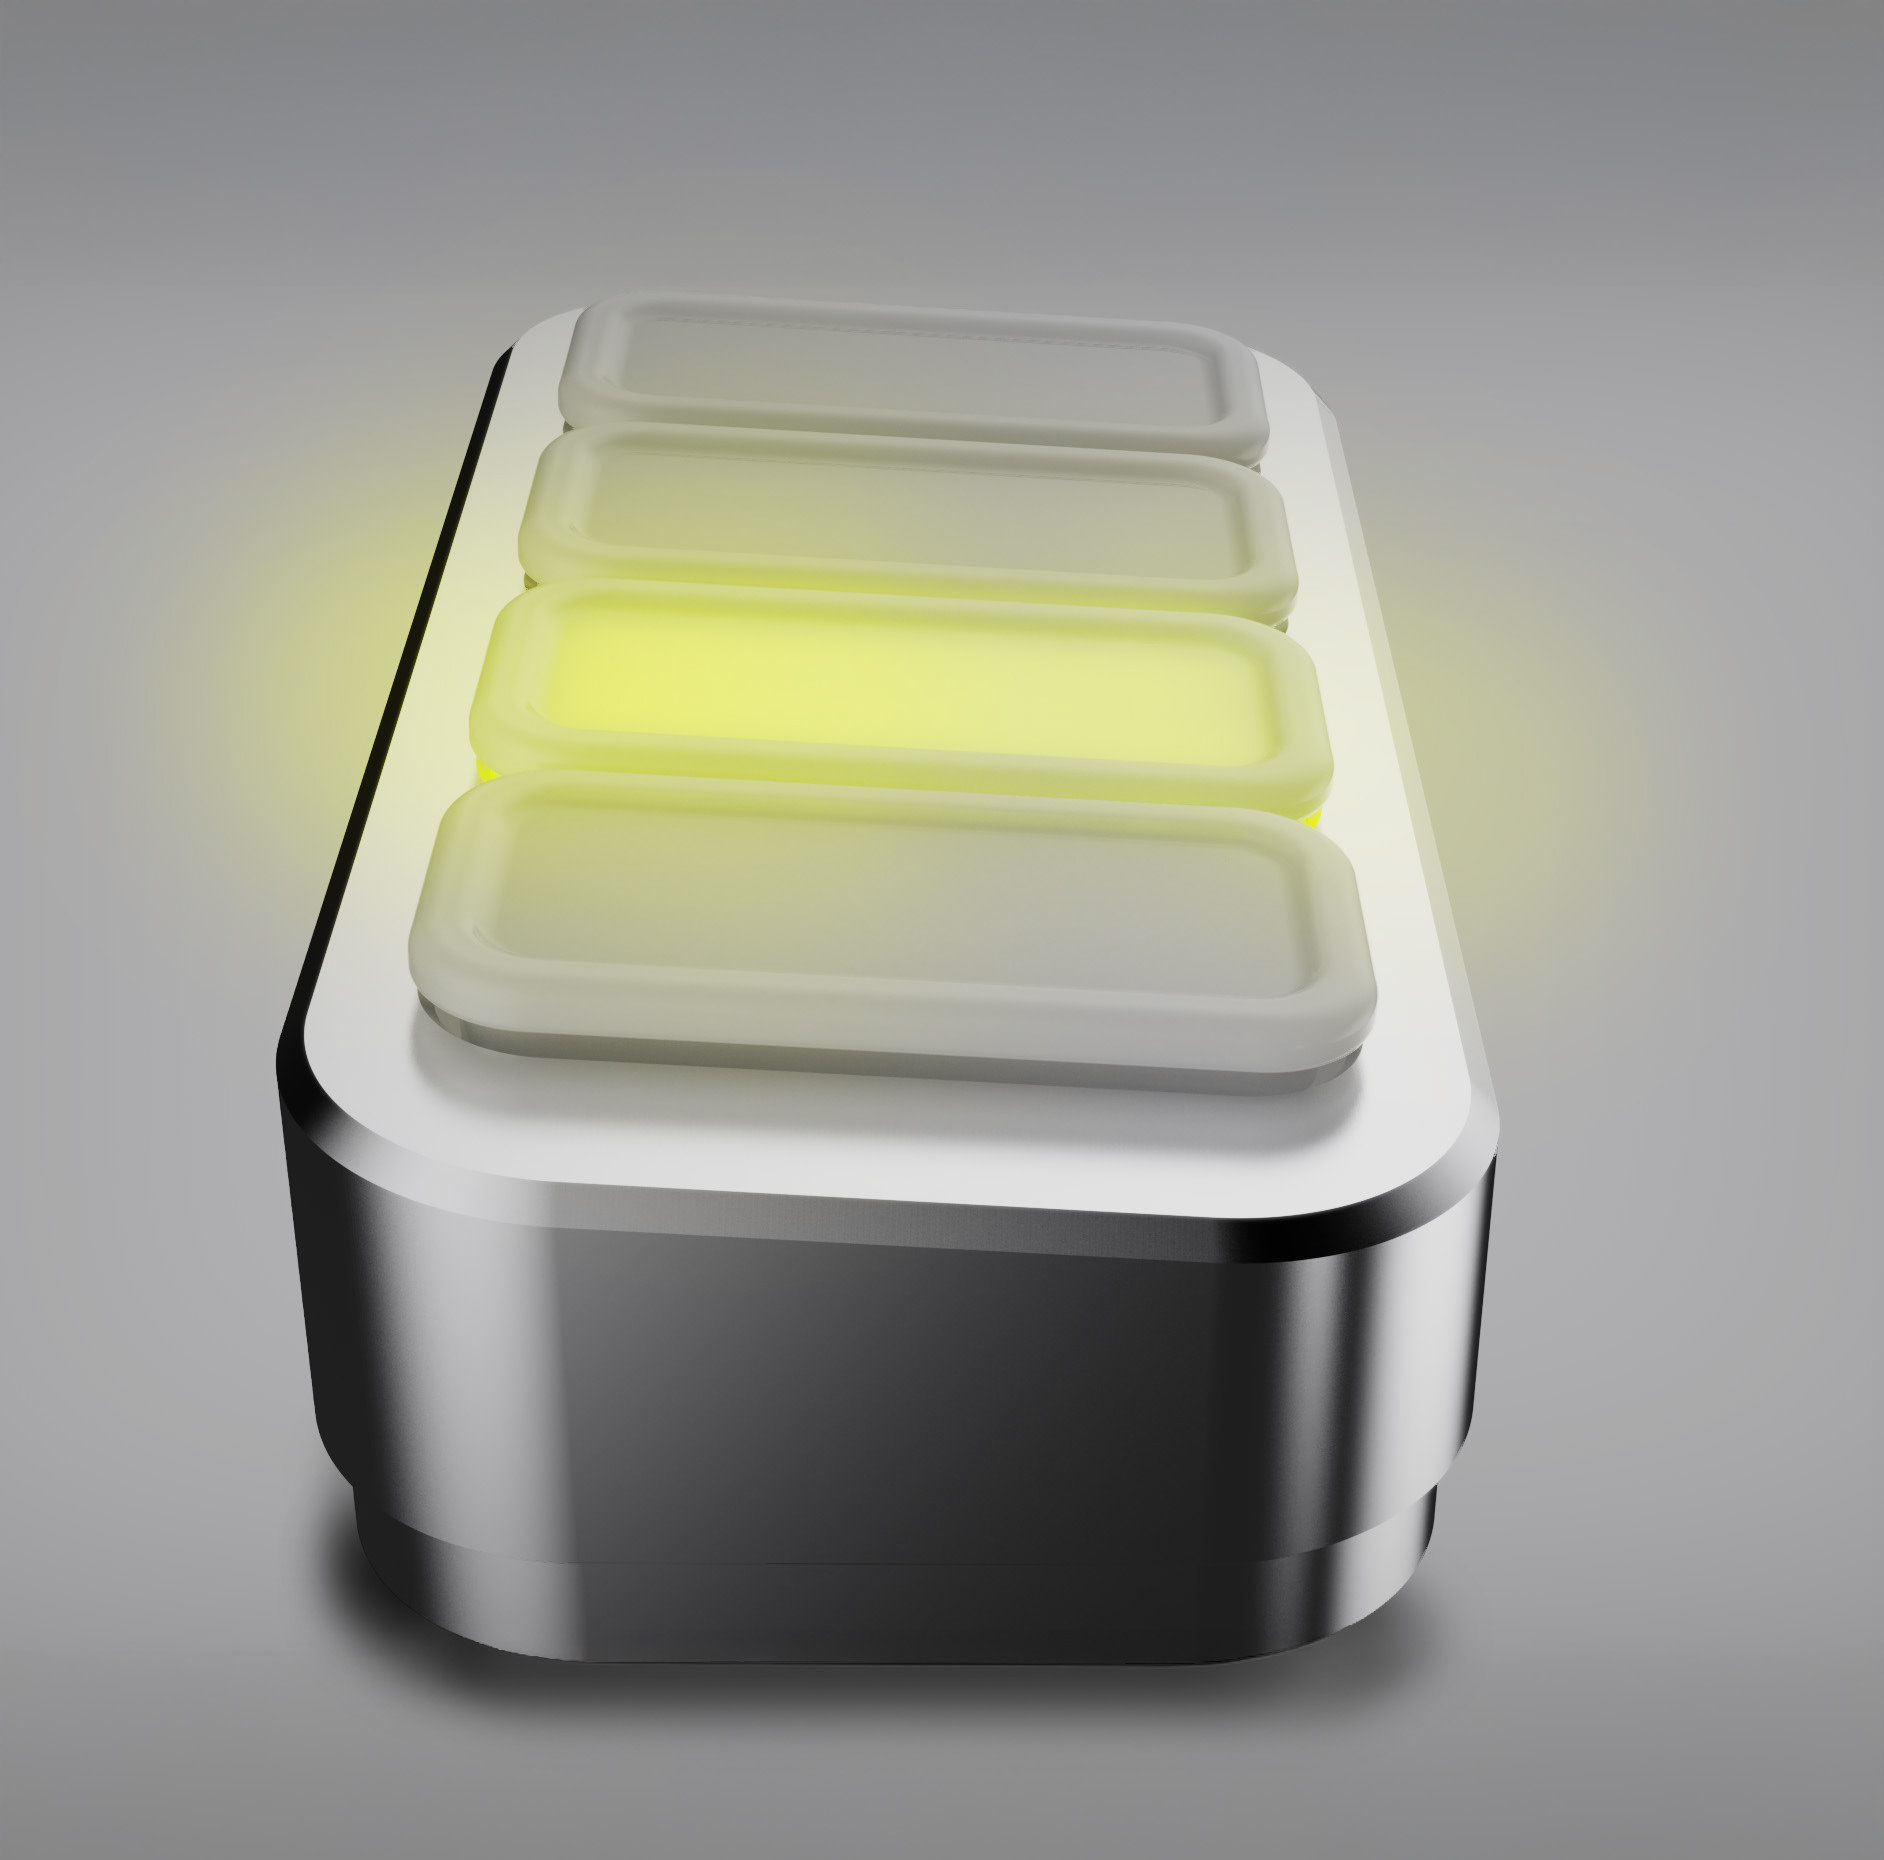
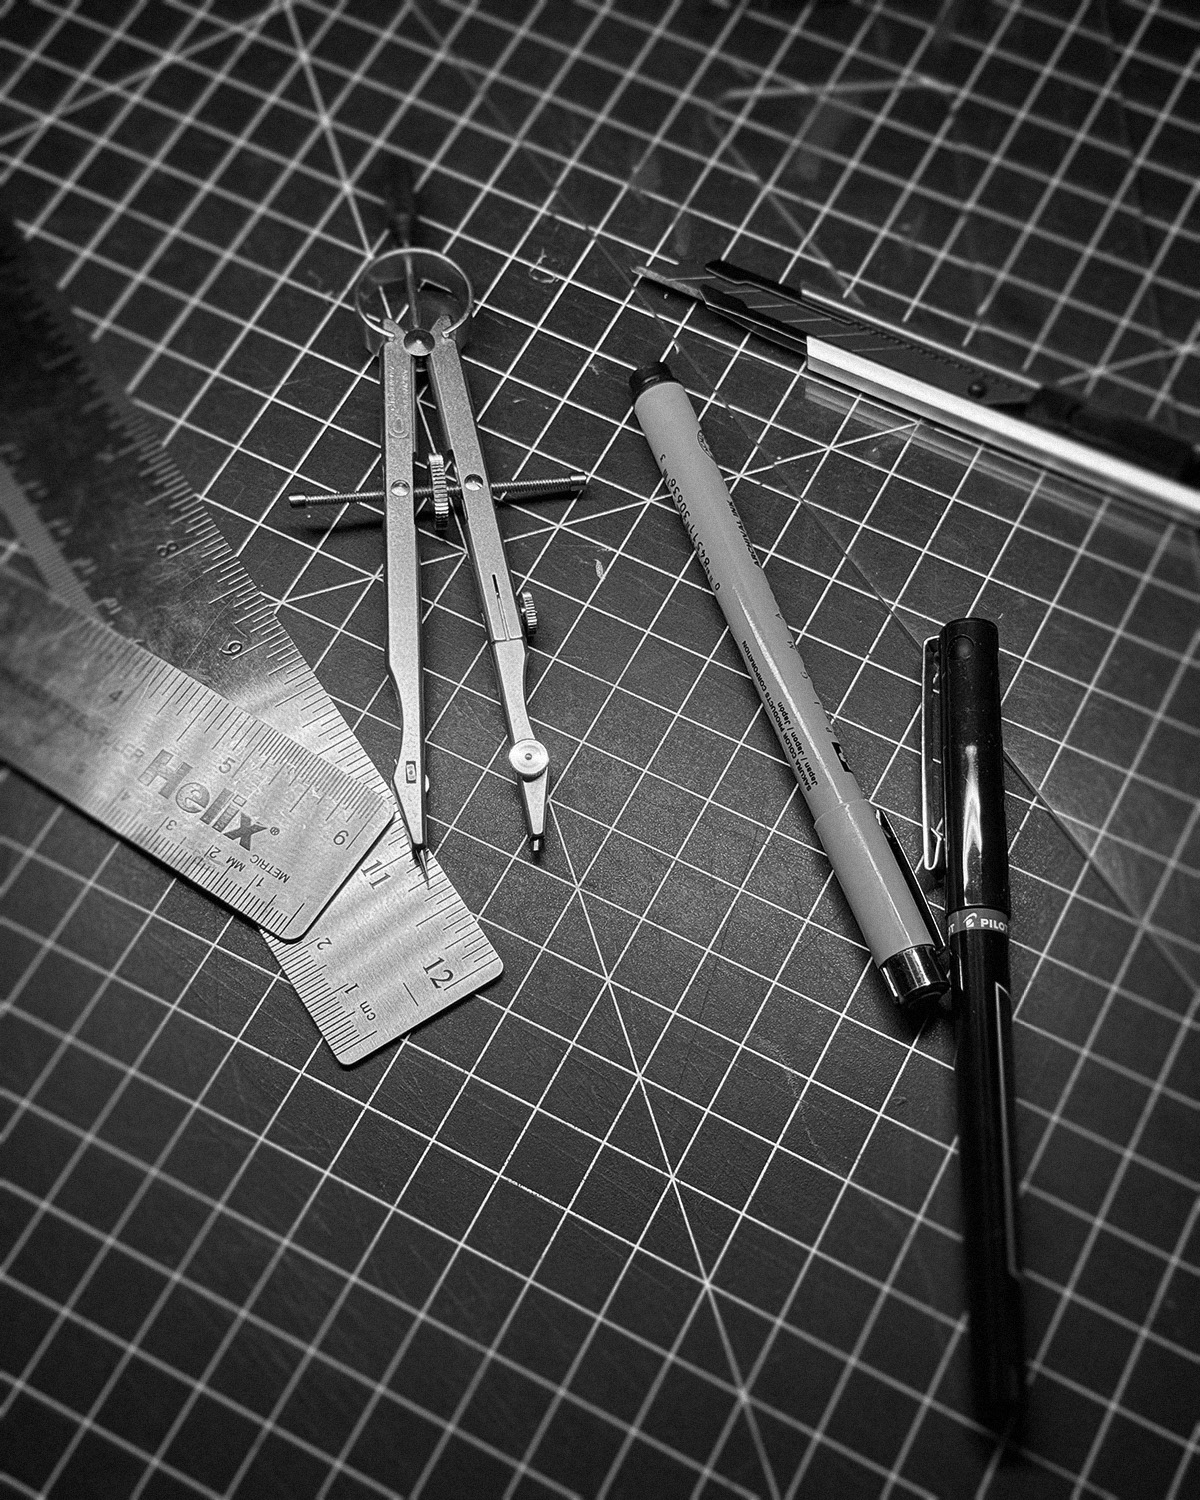
Focussed heavily on a minimal, playful design that prompts the user to want to reach out and touch the product. Buttons and switches, with satisfying ridges and curves
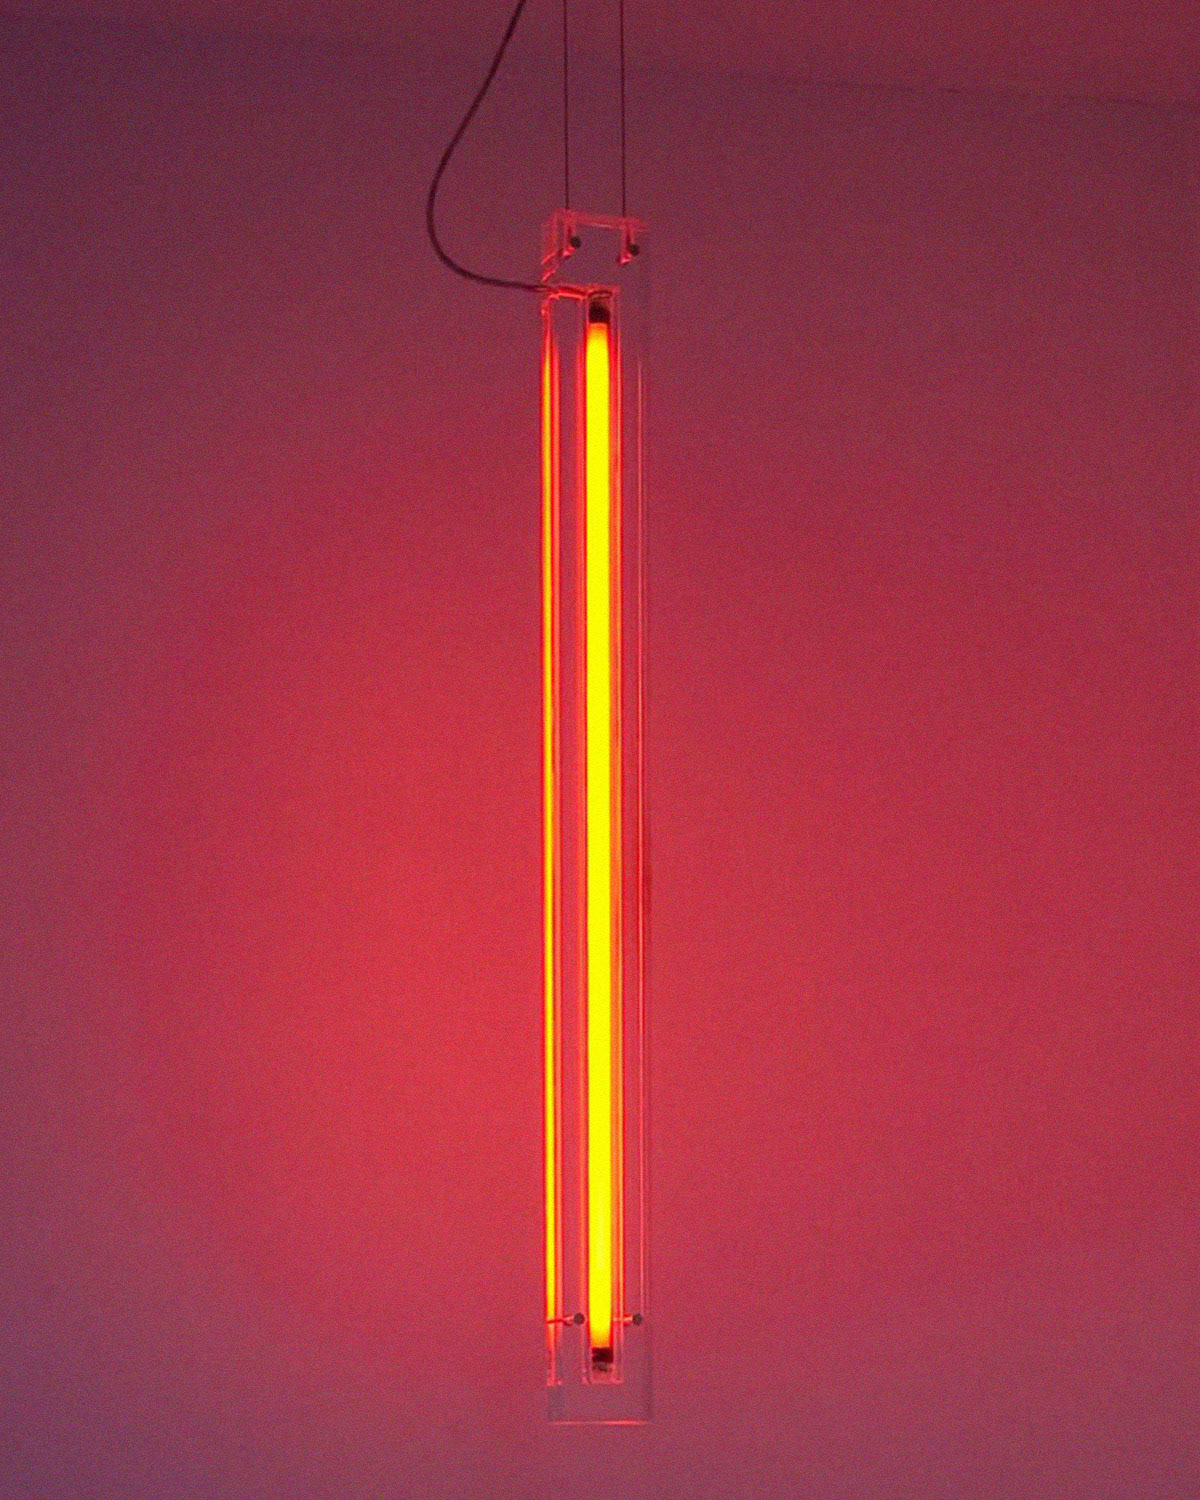
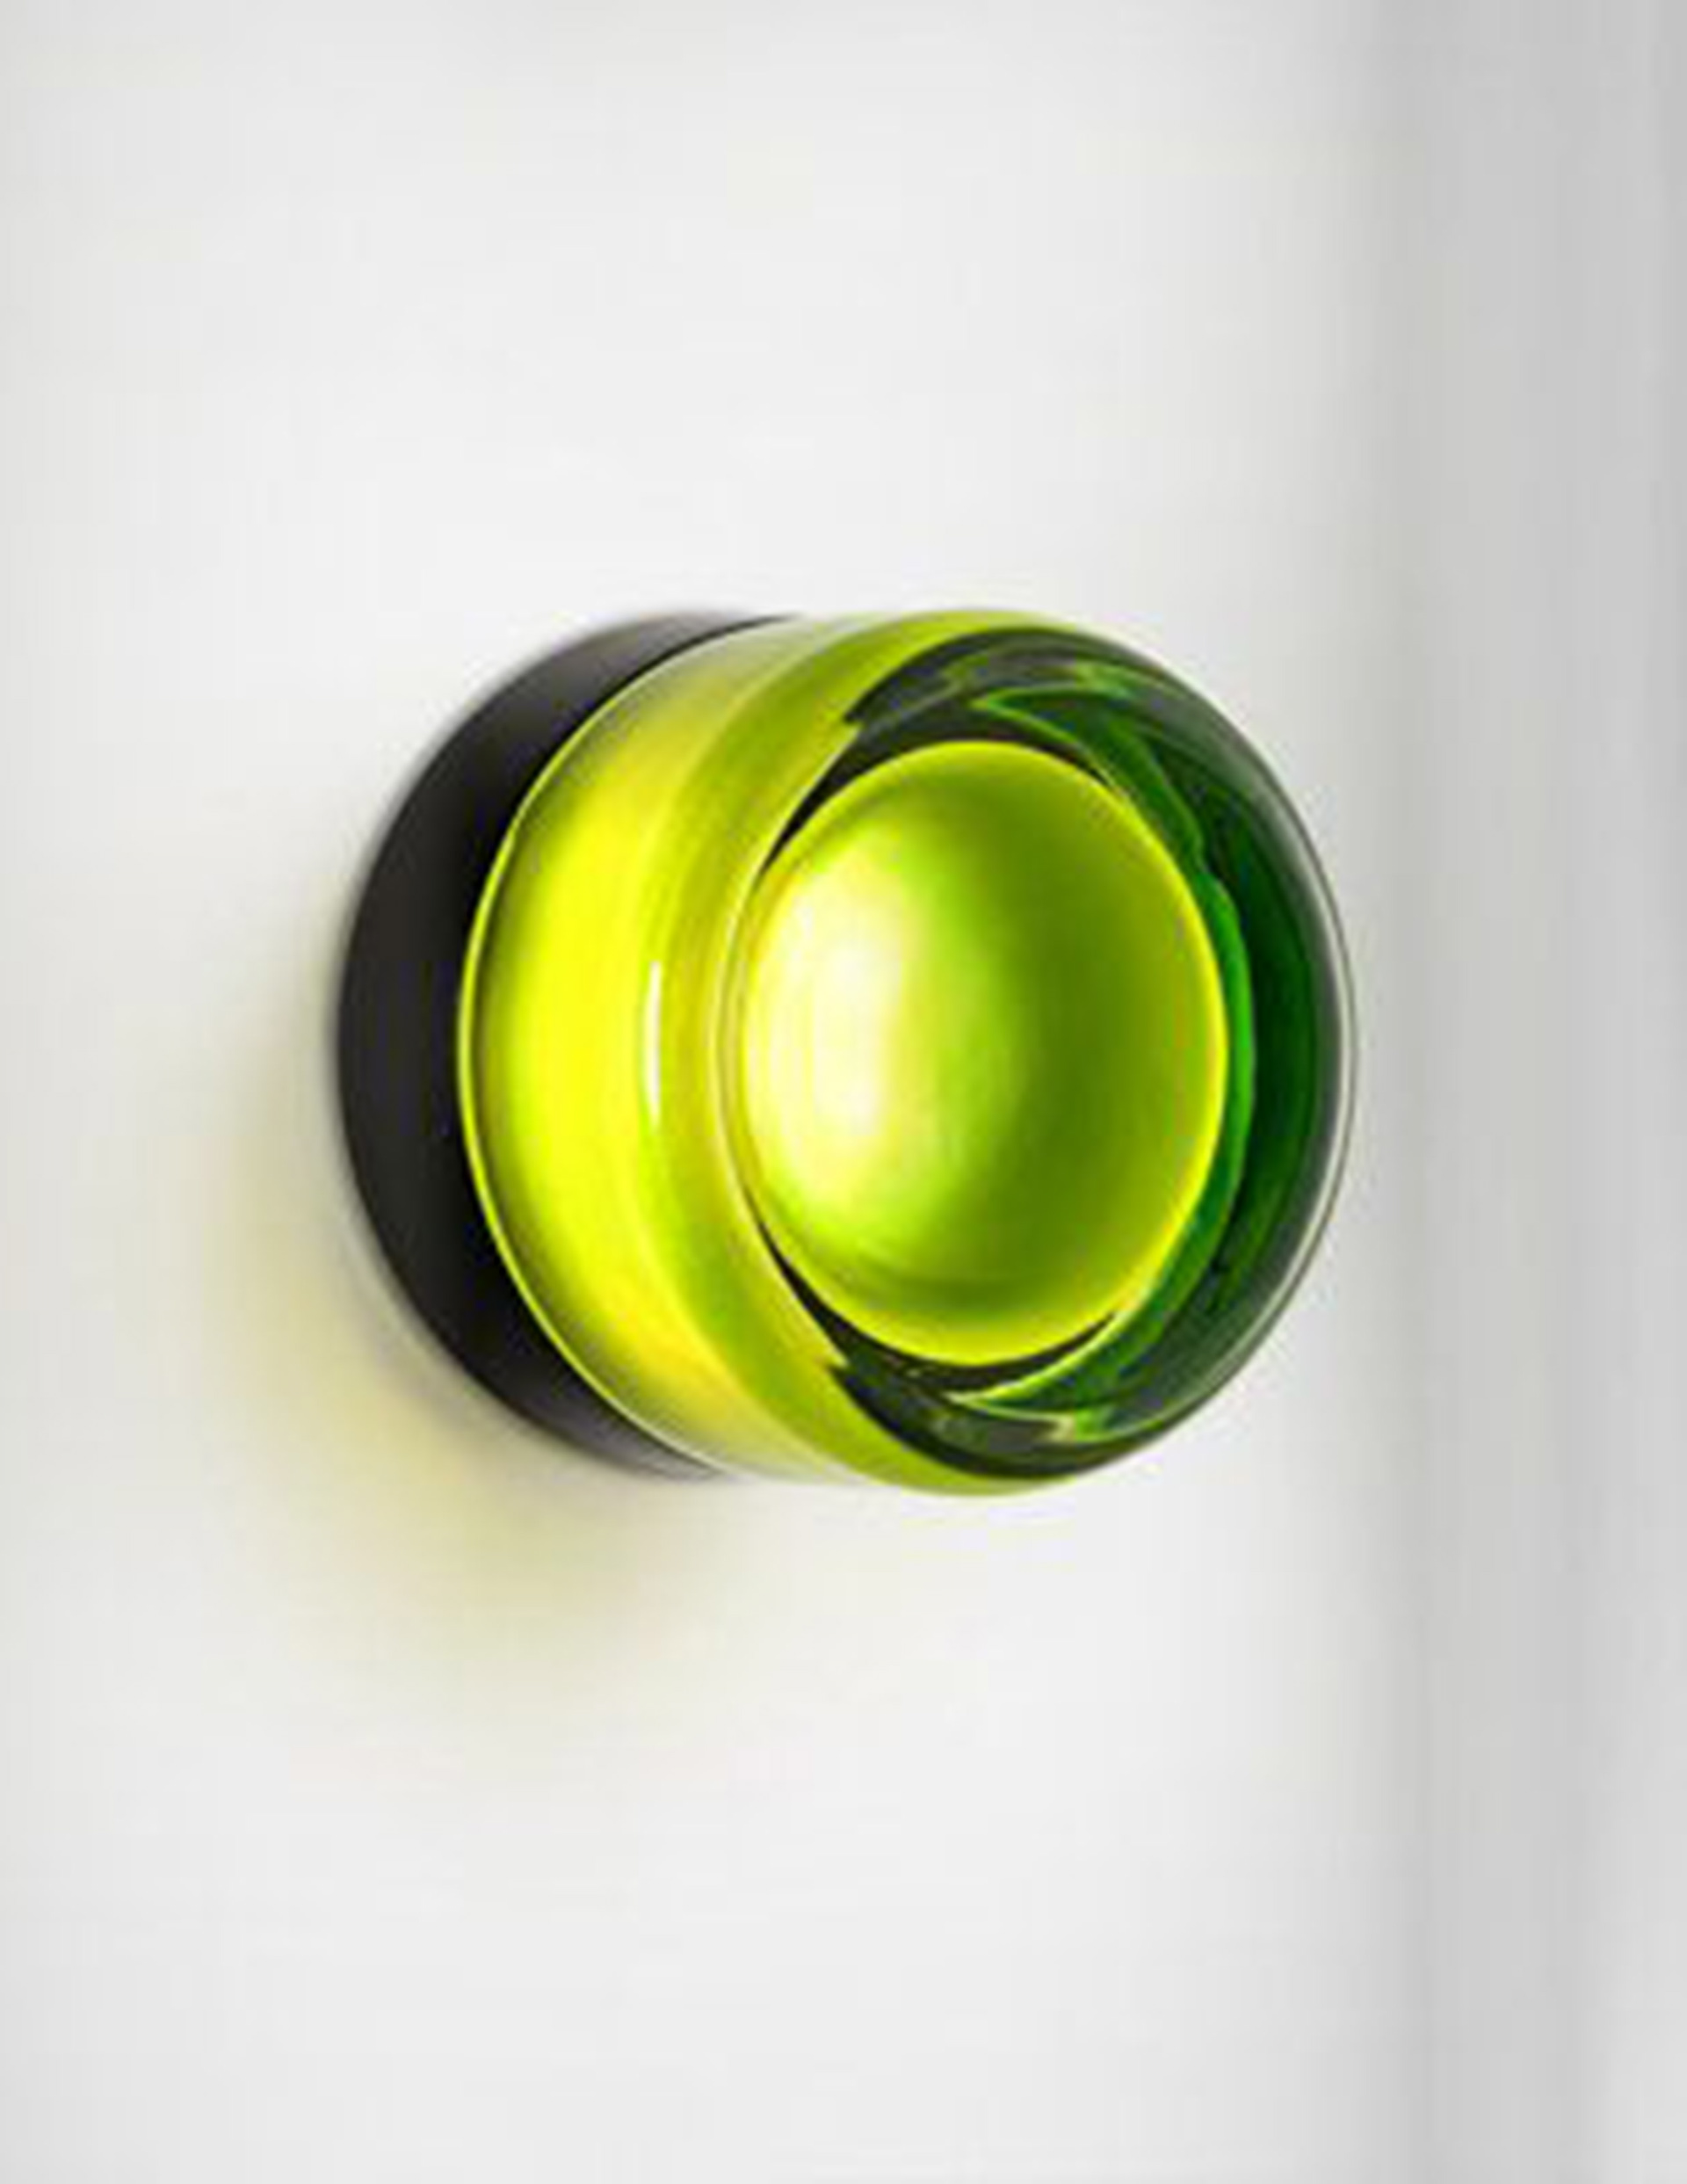

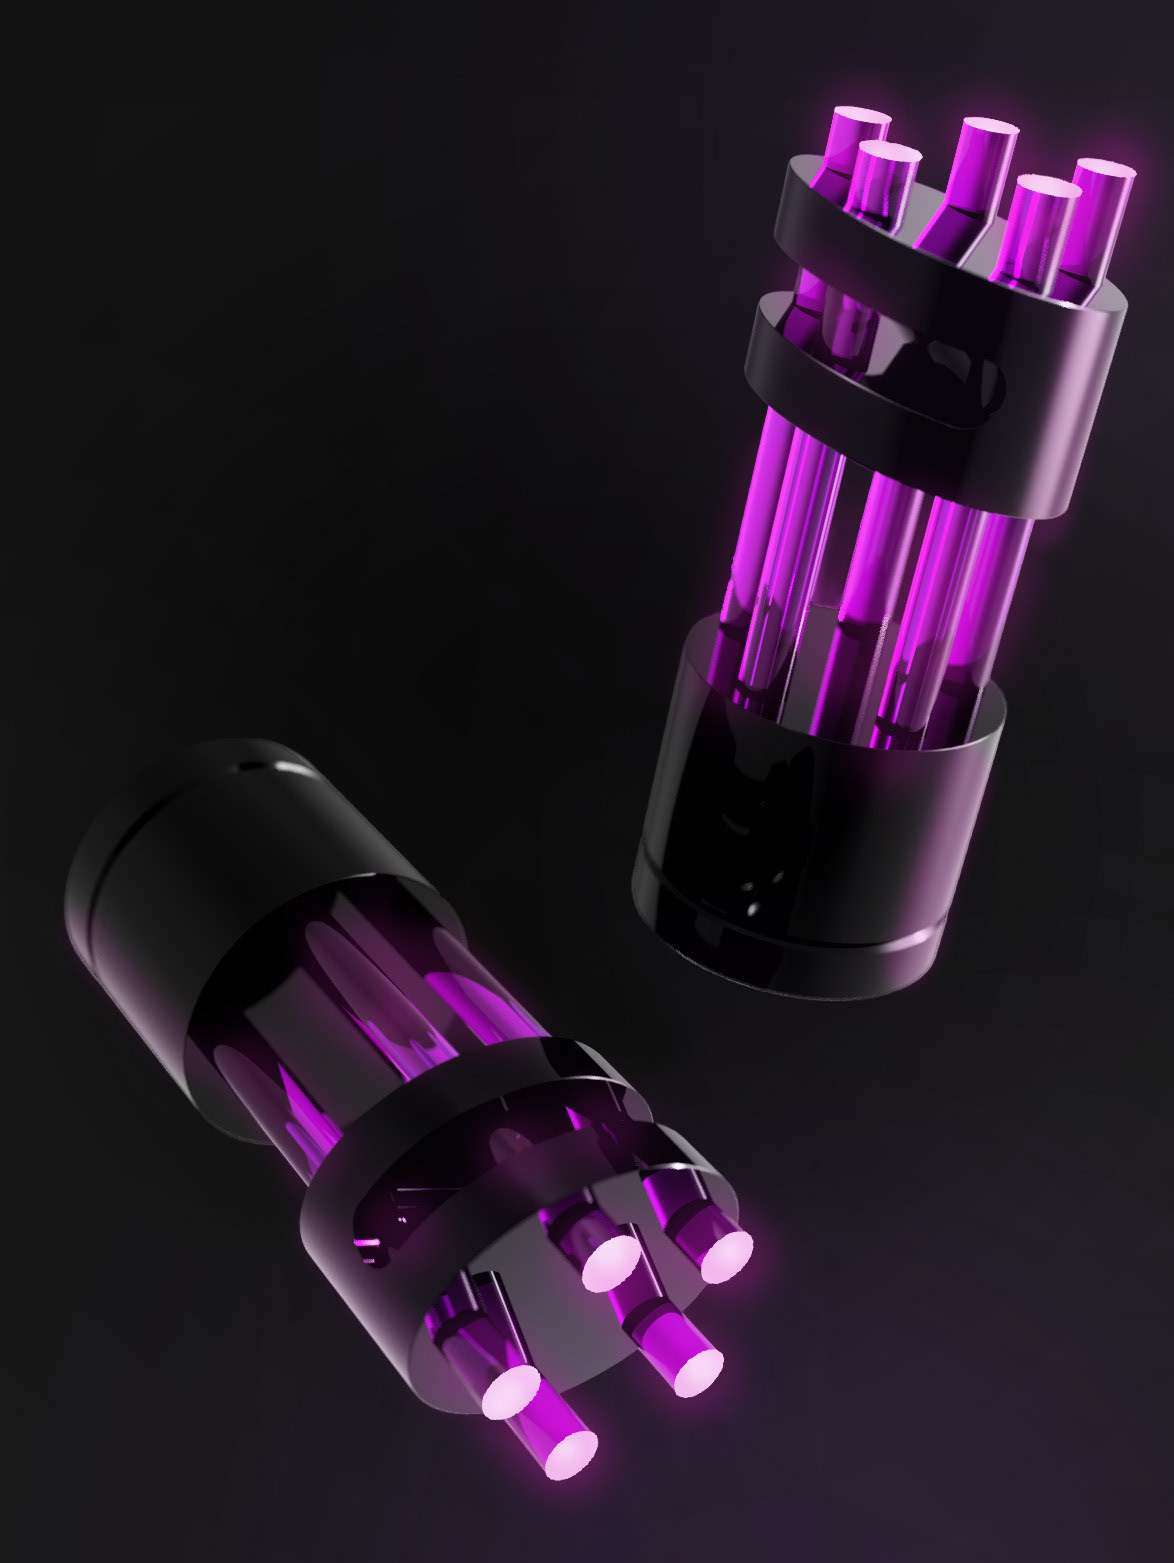
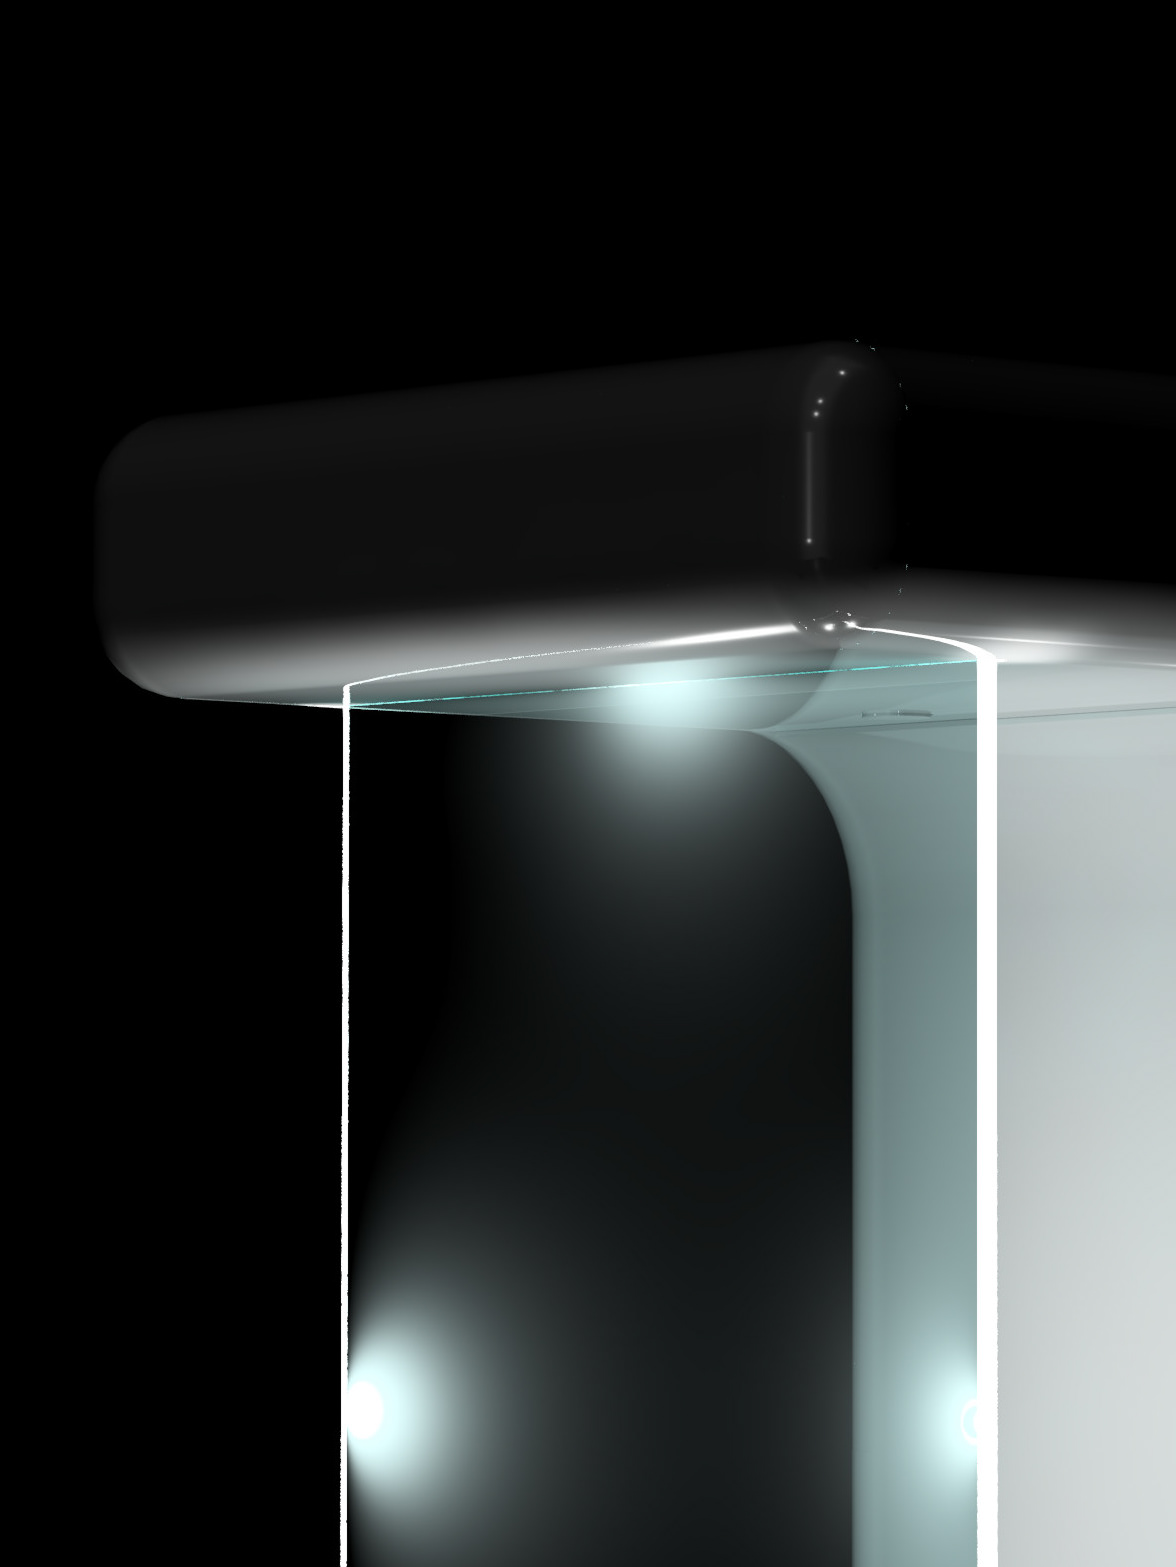
Light play research
Researching specific materials and how they interact with light through reflection, transmission, and diffusion to better understand their visual and tactile qualities. With a strong focus on illuminated acrylic, the goal is to achieve a soft, inviting glow as light passes through the material, creating a visually appealing and engaging experience for the user.
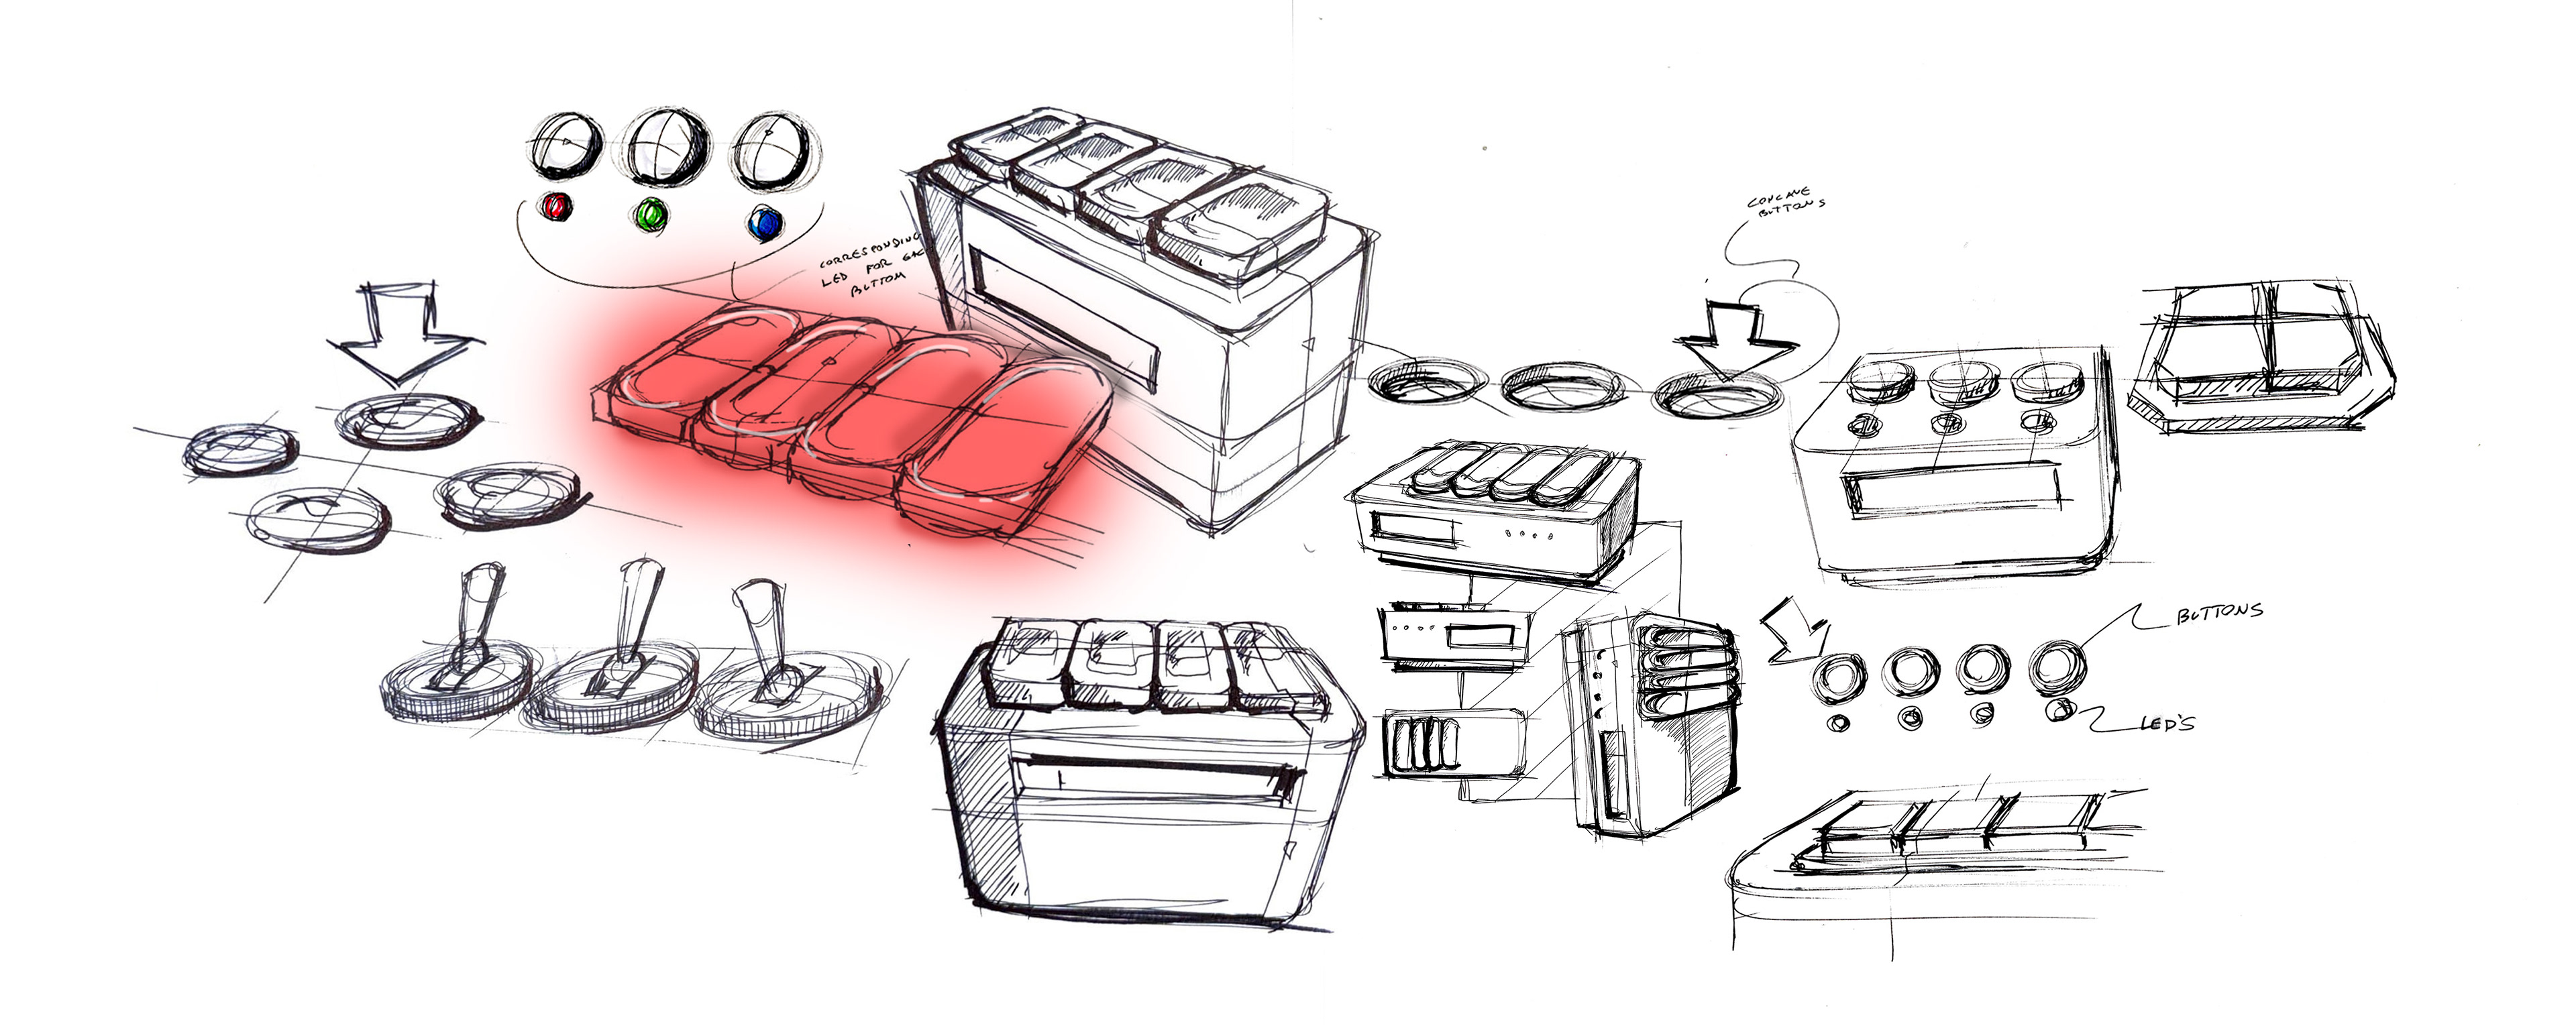
Initial gesture sketching
Putting ideas on the page, ideating on button form, product shape, size and details. Emphasis on color, and where light could be implemented. Working with different forms for actuation, including switches, button patterns, as well as differing shapes and sizes of actuators.
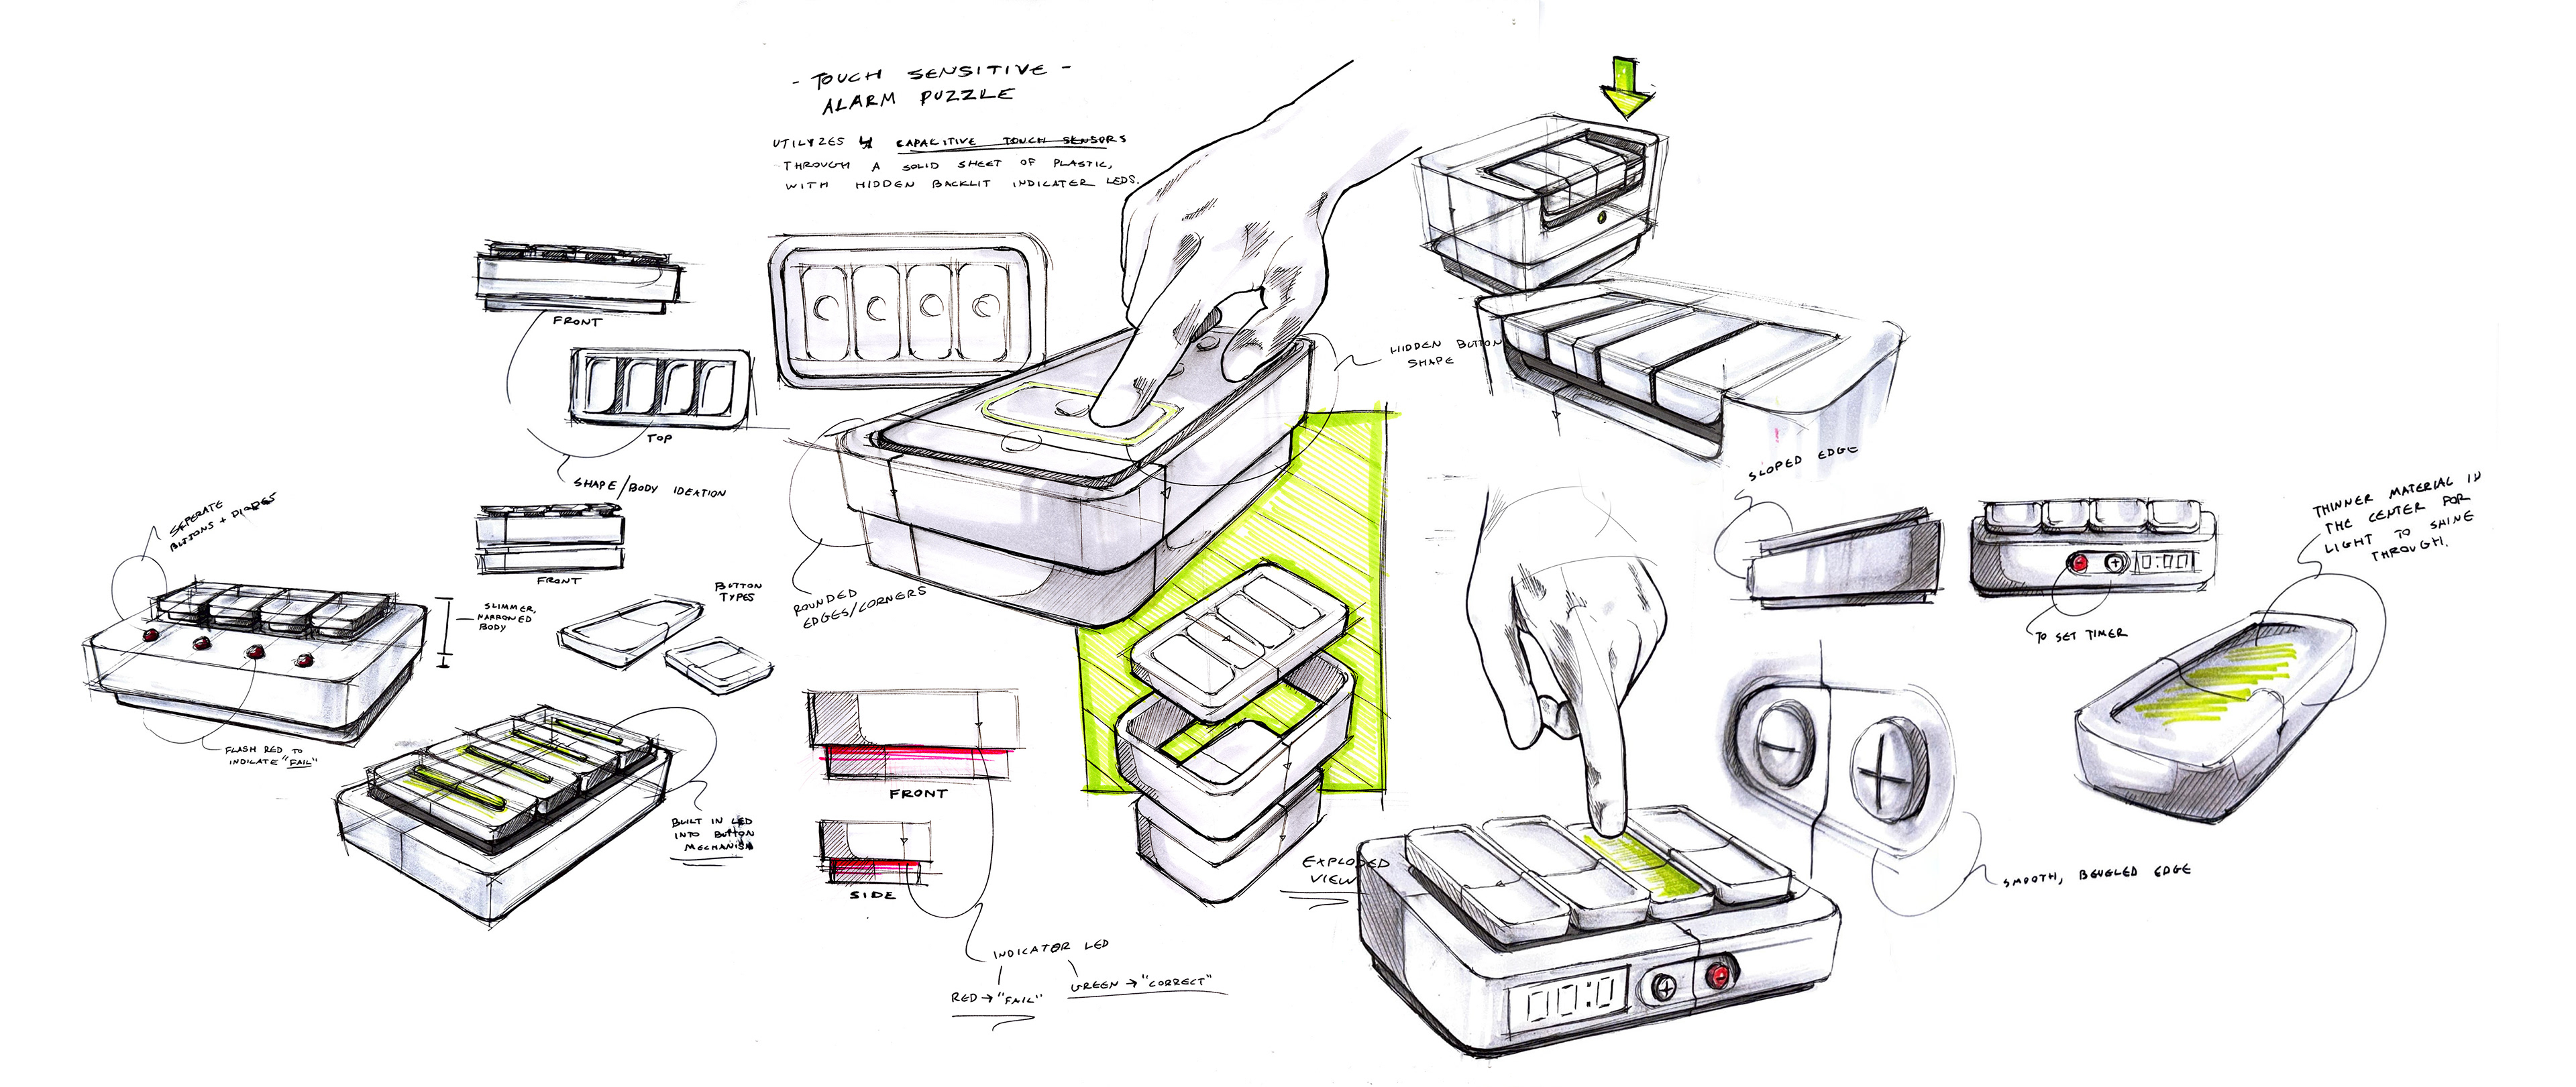
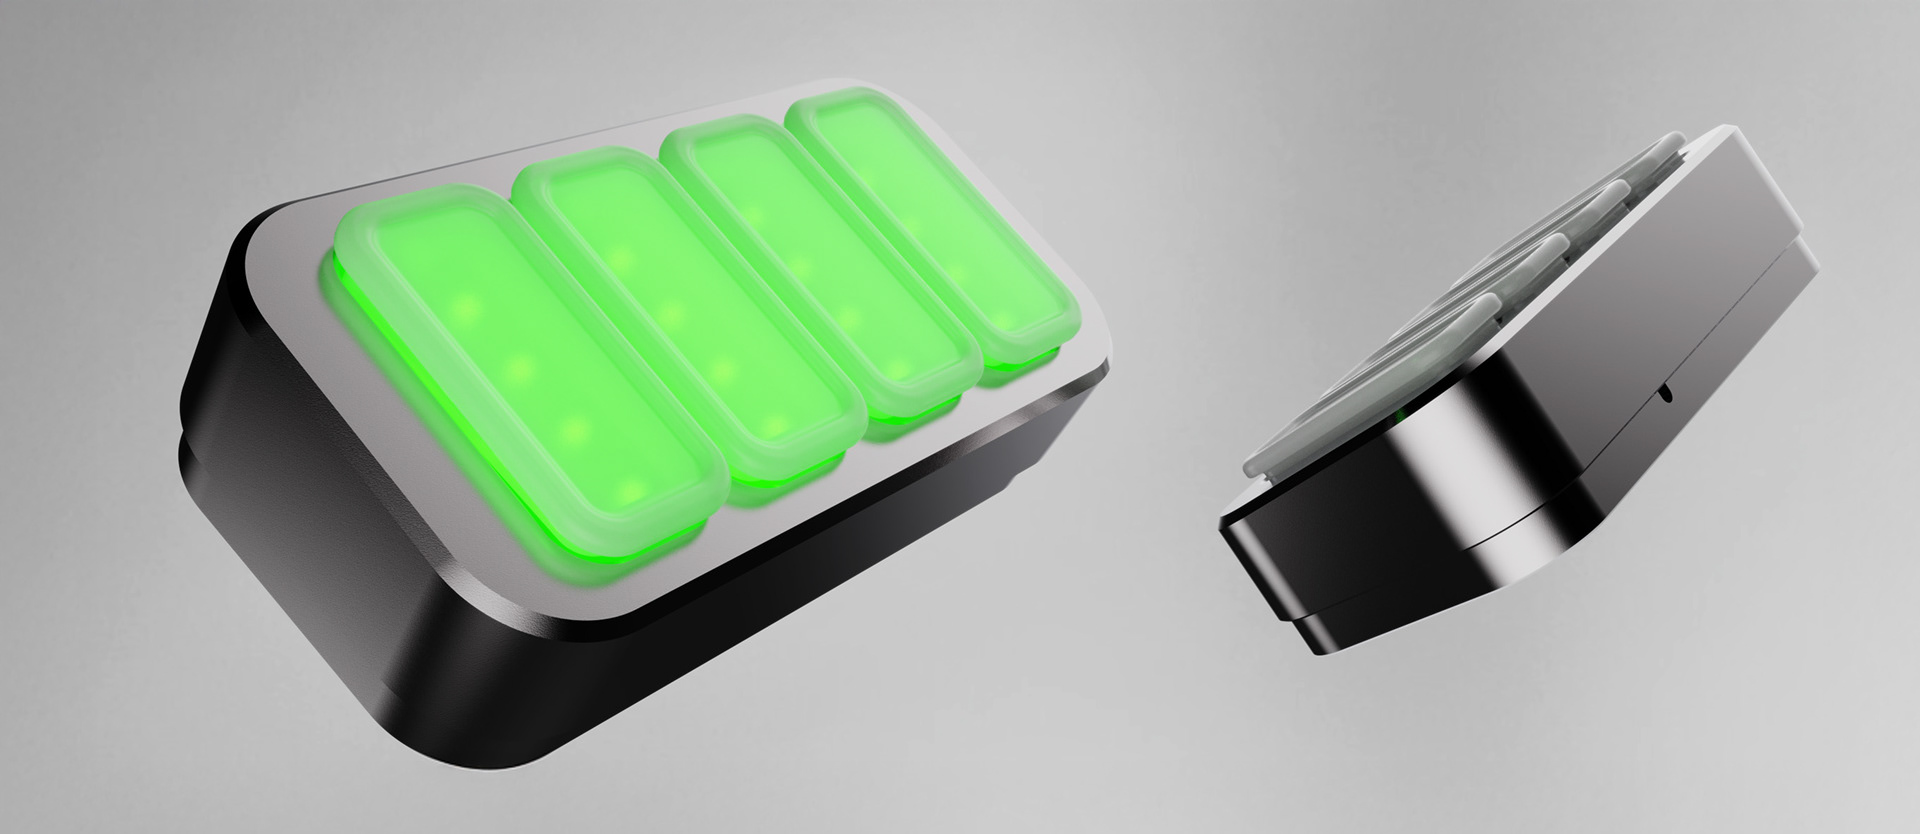
Concept refinement sketches
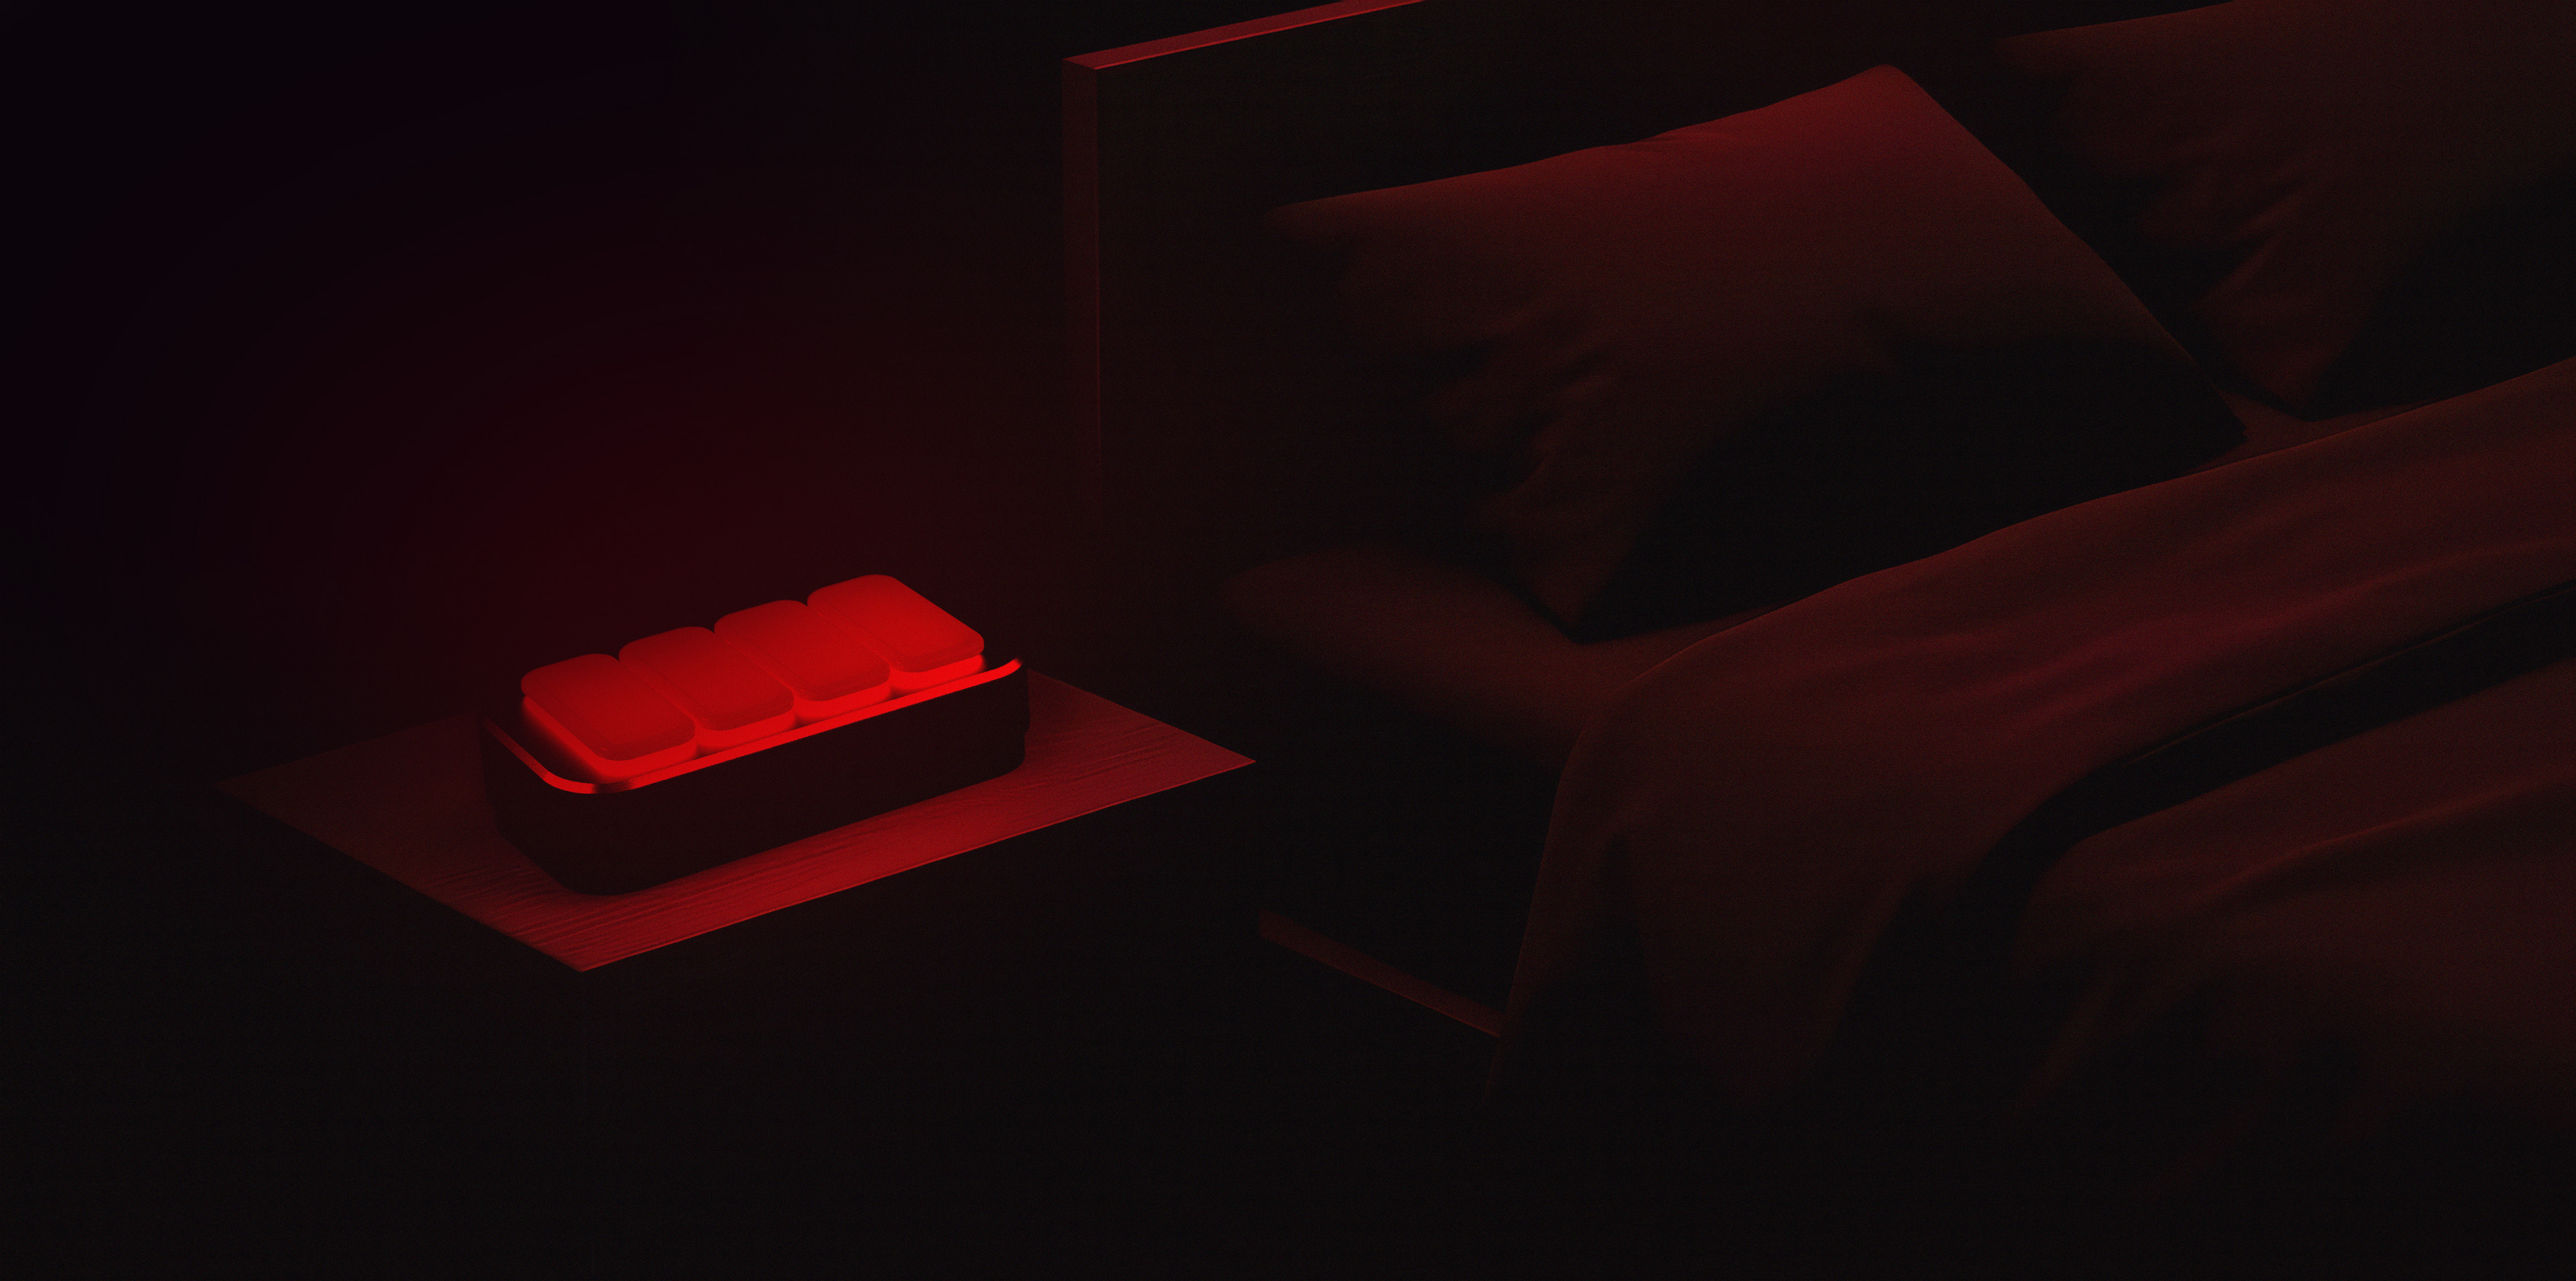
From the original sketches, I decided to further iterate on the rectangular push button design. Keeping a relatively thin form, designing to look at home in a college students room. Sketches closely resemble the appeal of an early 2000's alarm clock, bringing the aesthetic of digital LCD screens, as well as red and green lighting.
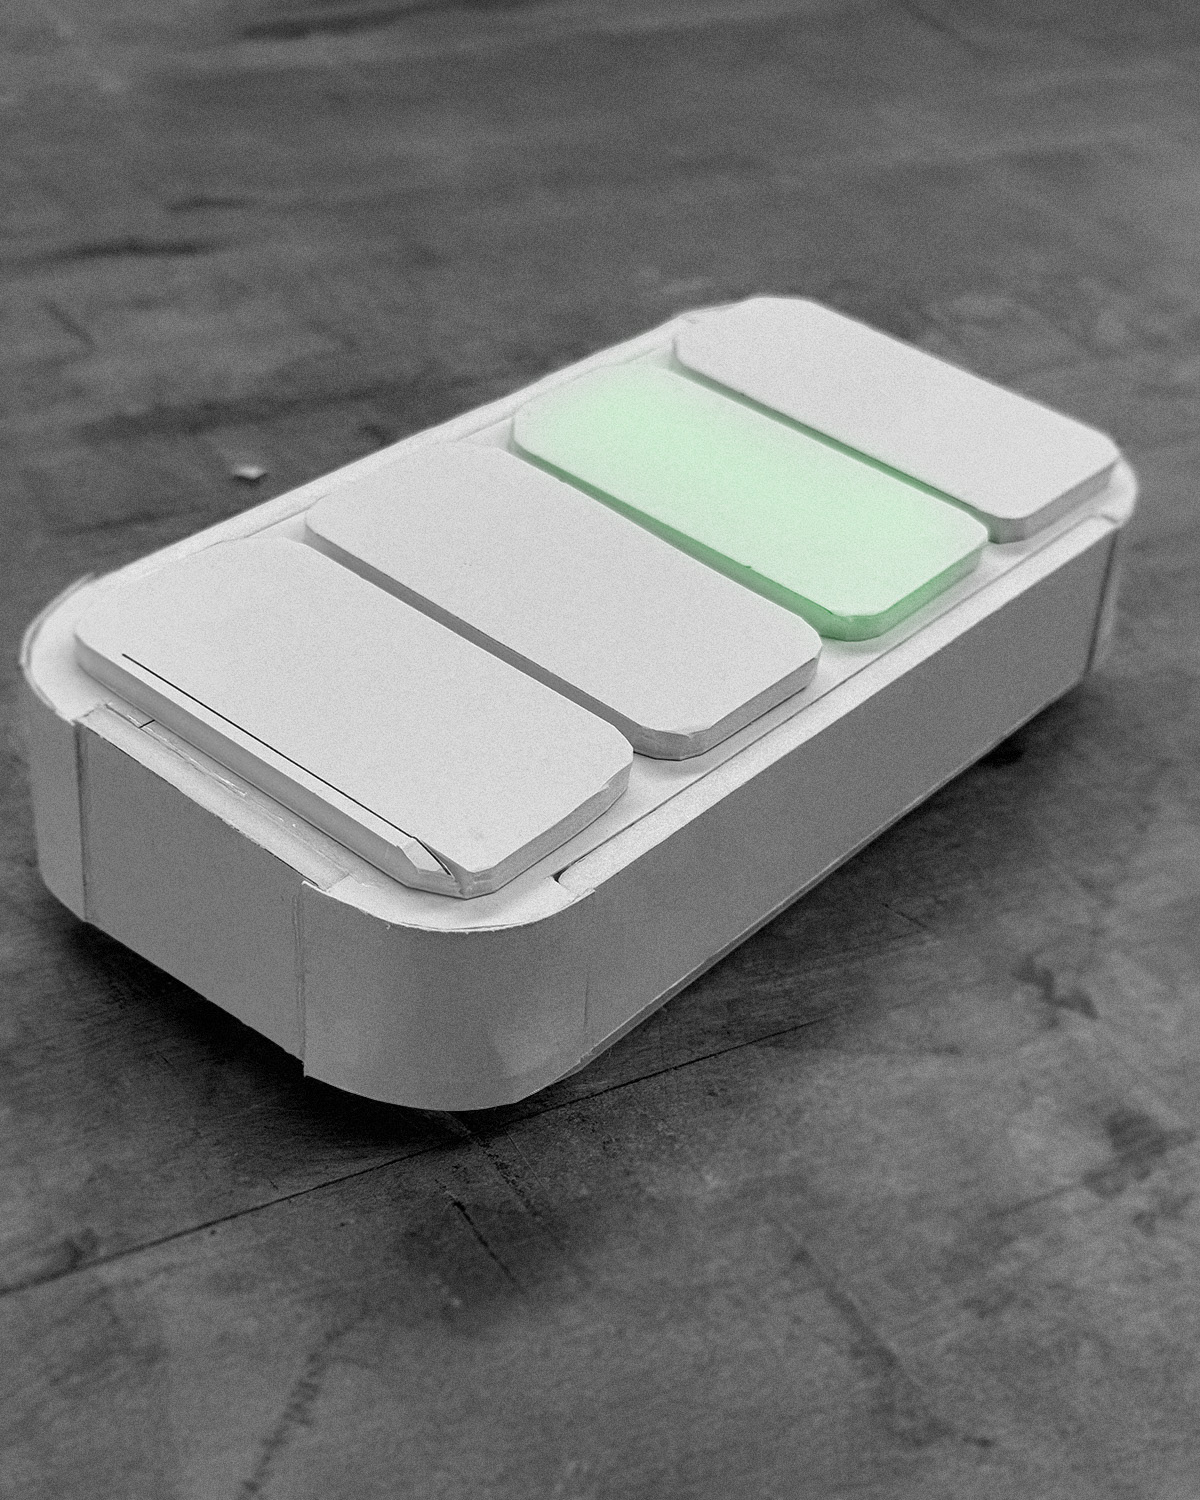
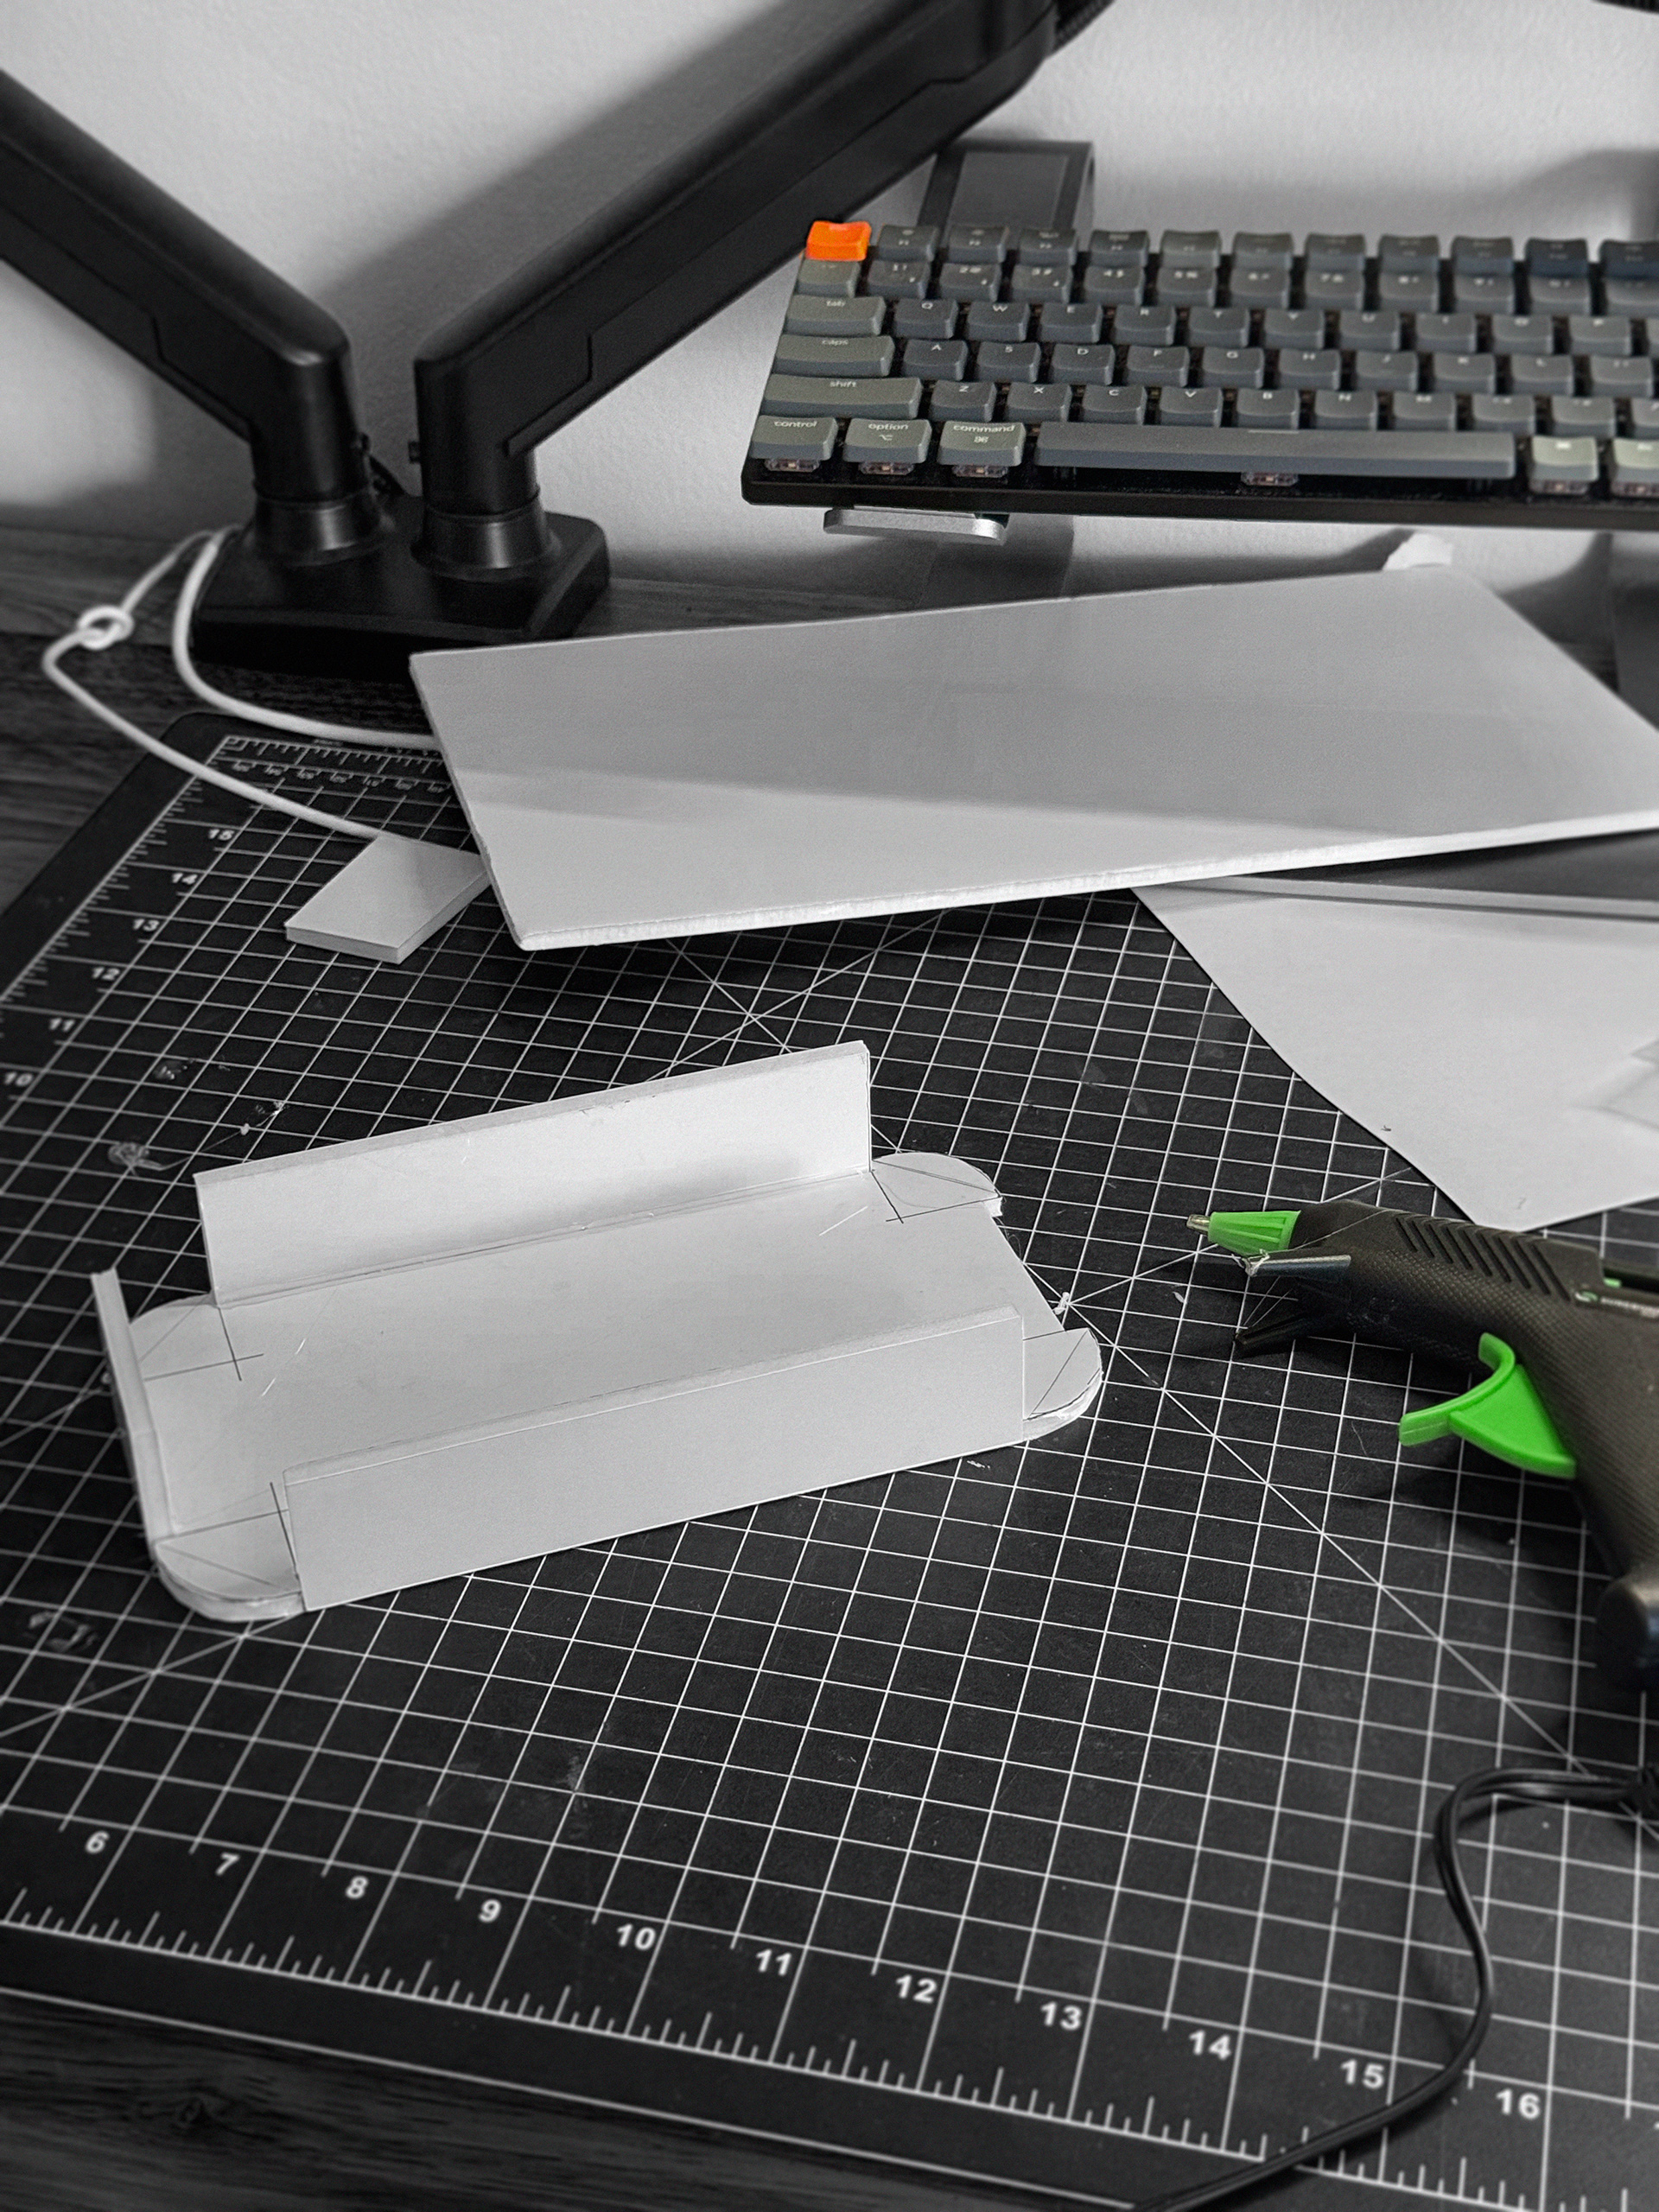
Foam model making
Using 1/8" foam-core sheets to establish a general understanding of overall form, proportion, and scale, while accounting for internal measurements and spatial relationships. This physical exploration helps inform design decisions and serves as a foundation for accurate and efficient future CAD modeling.
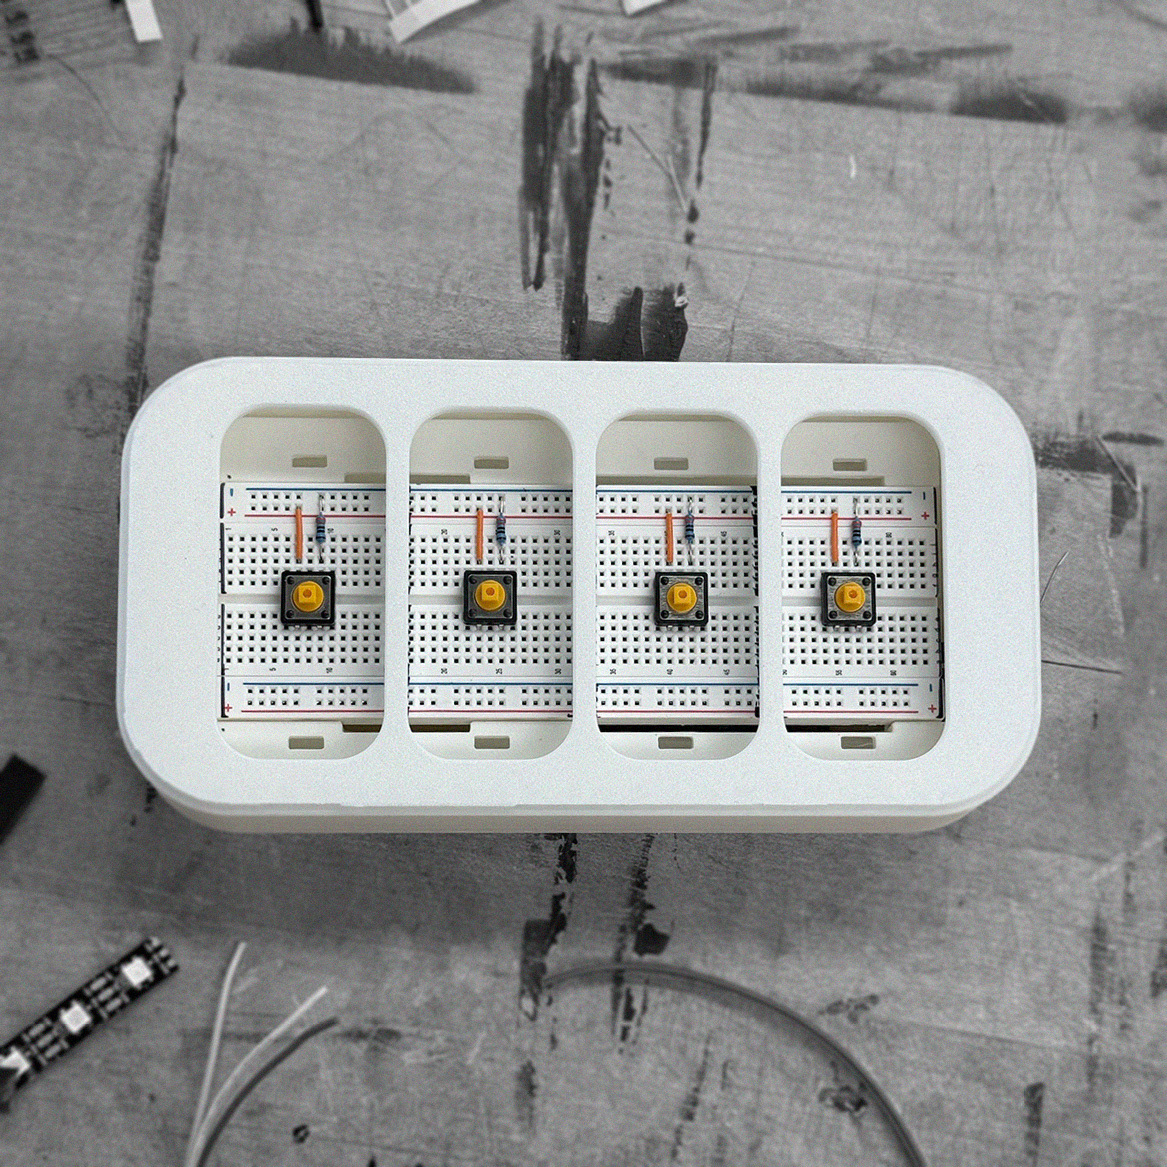
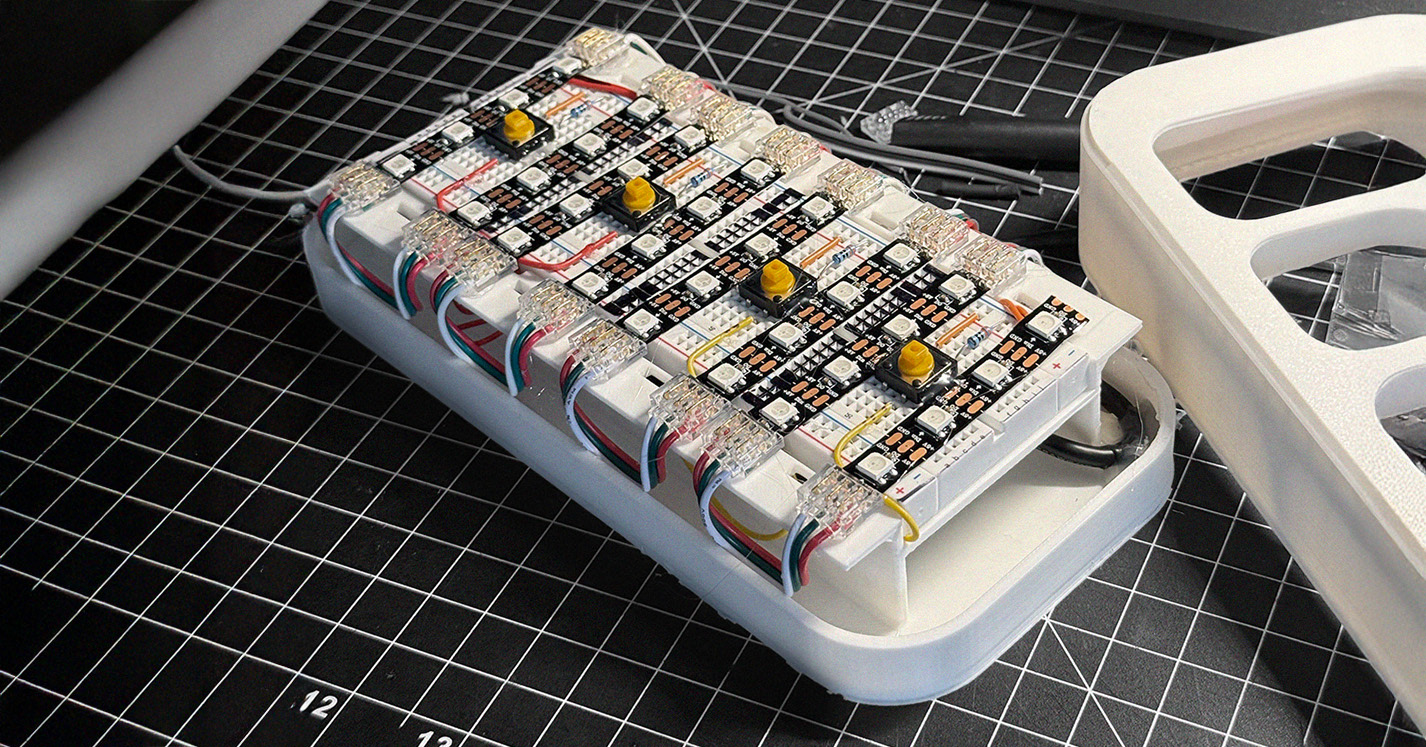
Model Making Process
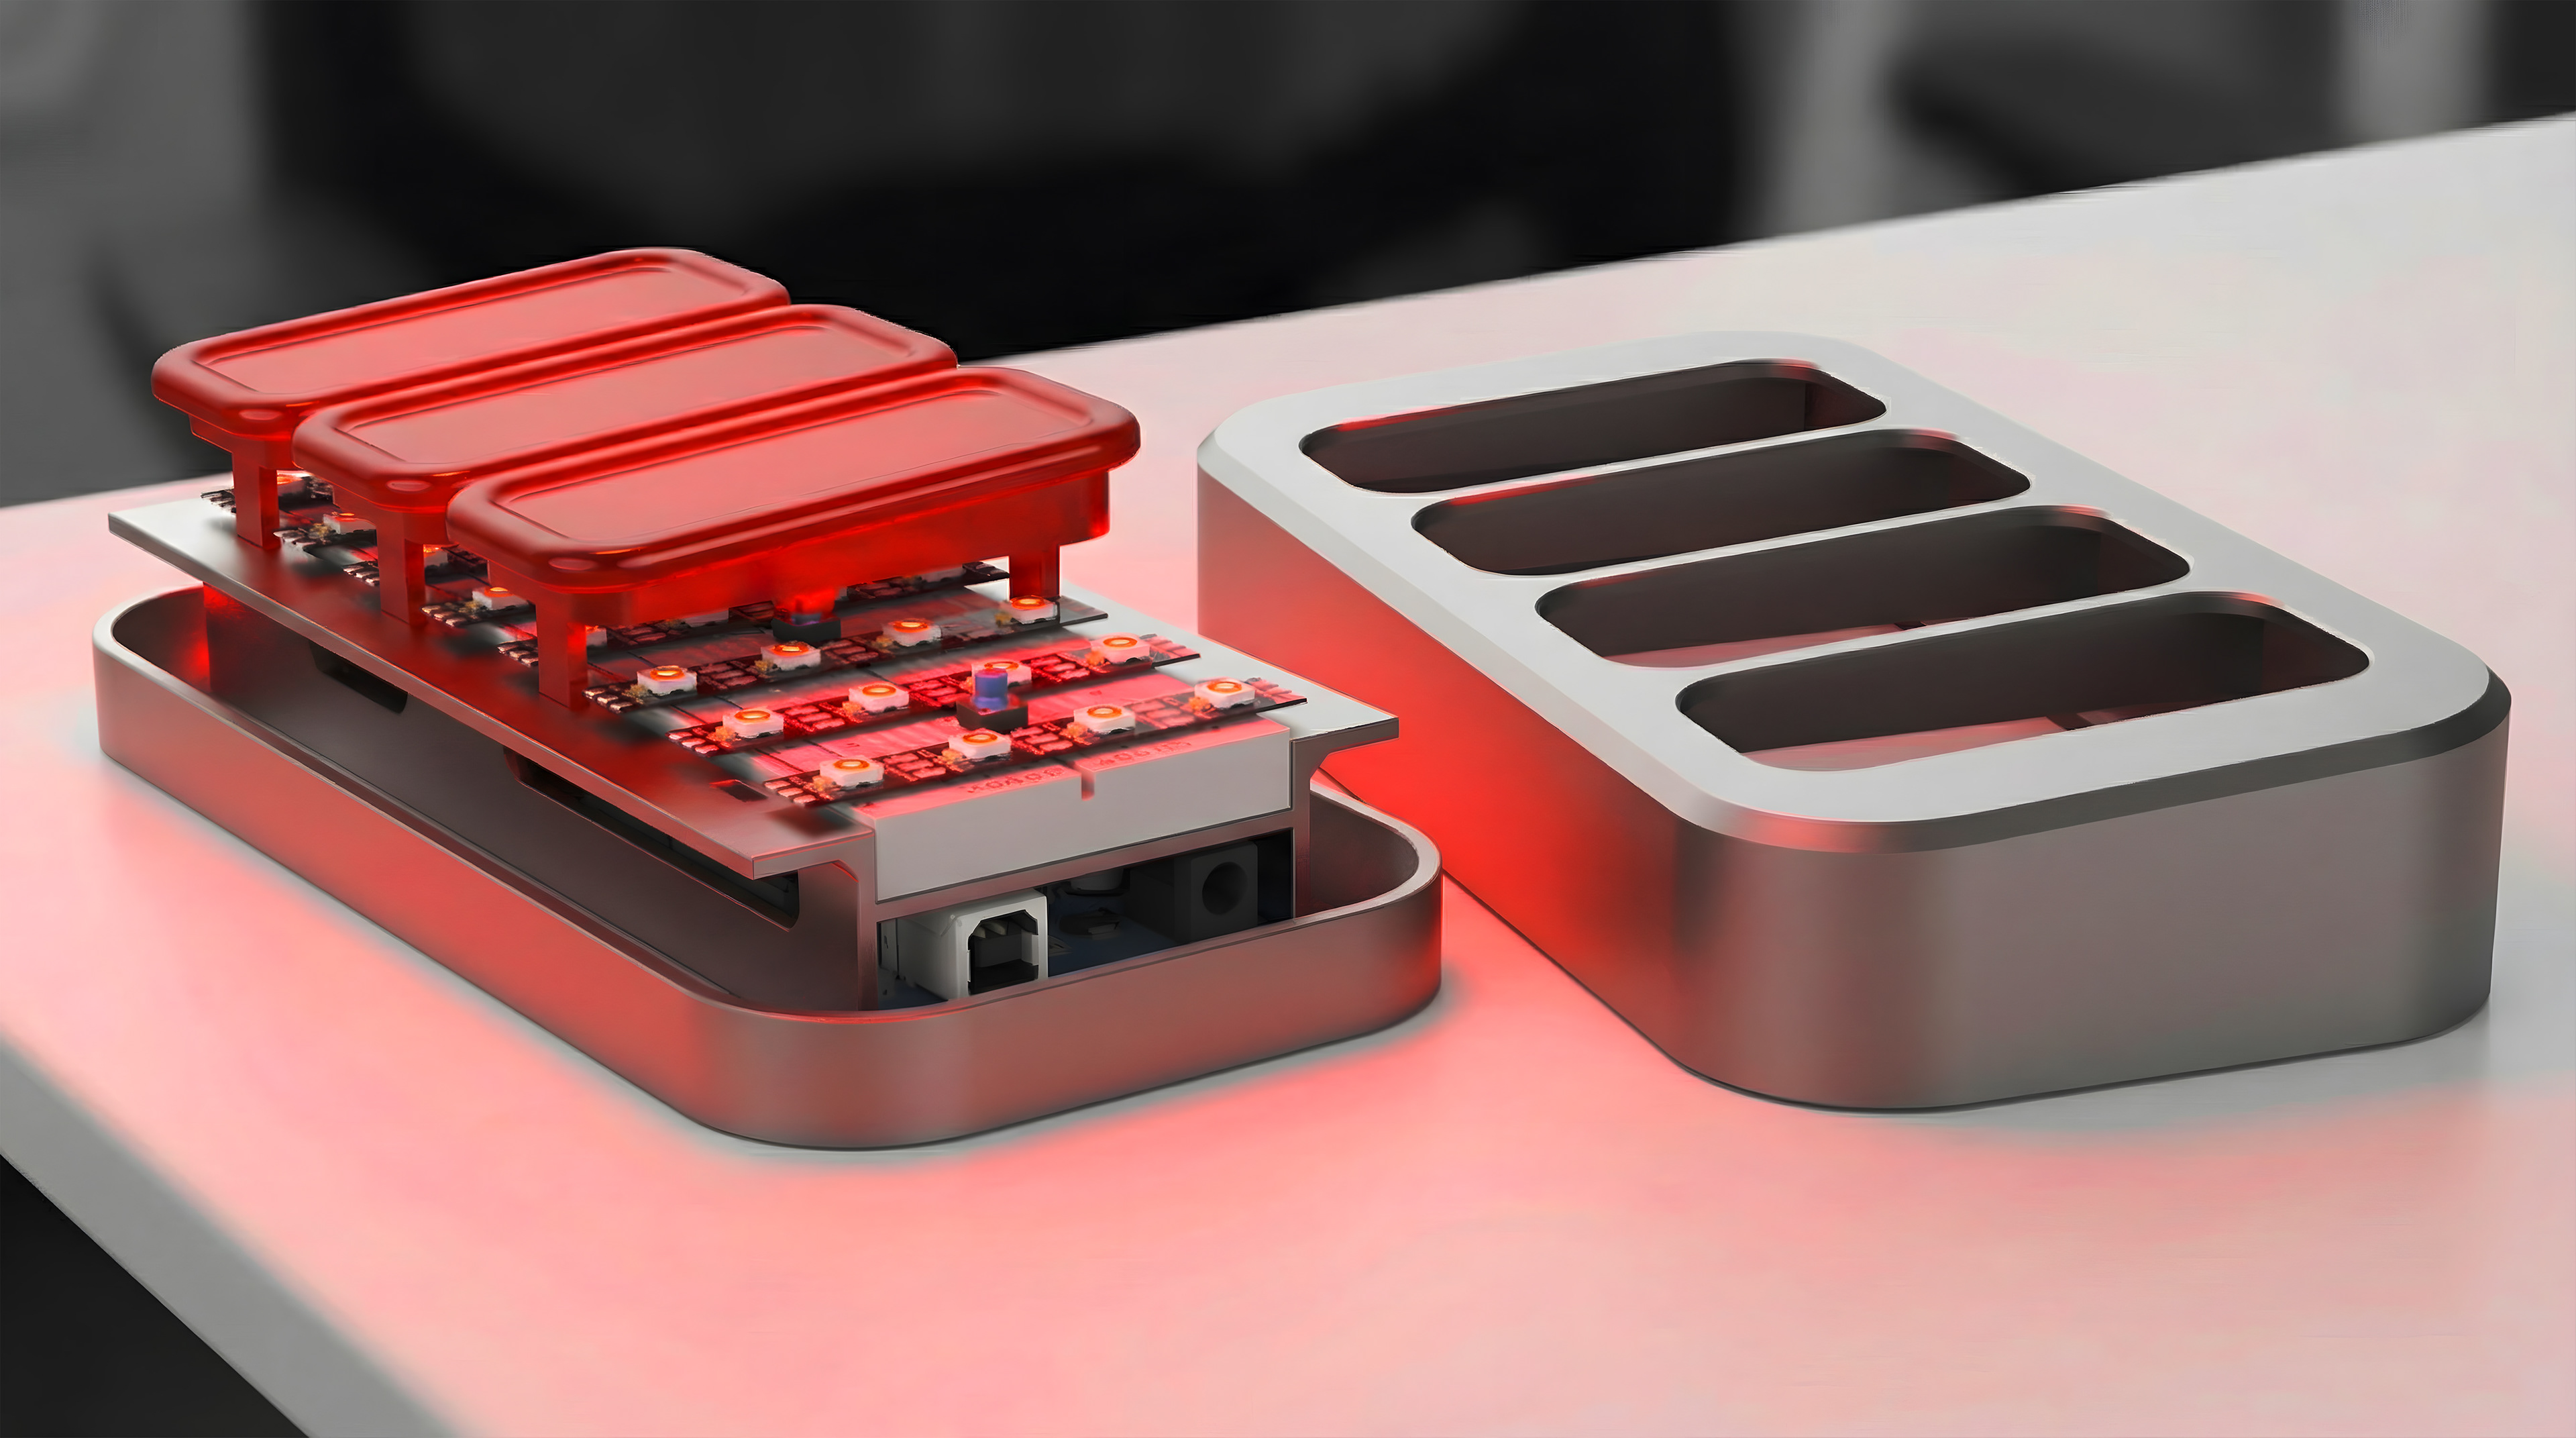
3D modeled in Fusion 360, carefully accounting for overhanging edges, and taking close detail of measurements for fit tolerances making sure that the Arduino, breadboard, and other components are snap fit. Made sure to model around having space to tuck wires, so that everything is seamless and proffesionnaly organized. Addressable LED strips are used to illuminate the buttons, coded into 4 separate buttons, and connected via pinch connectors.
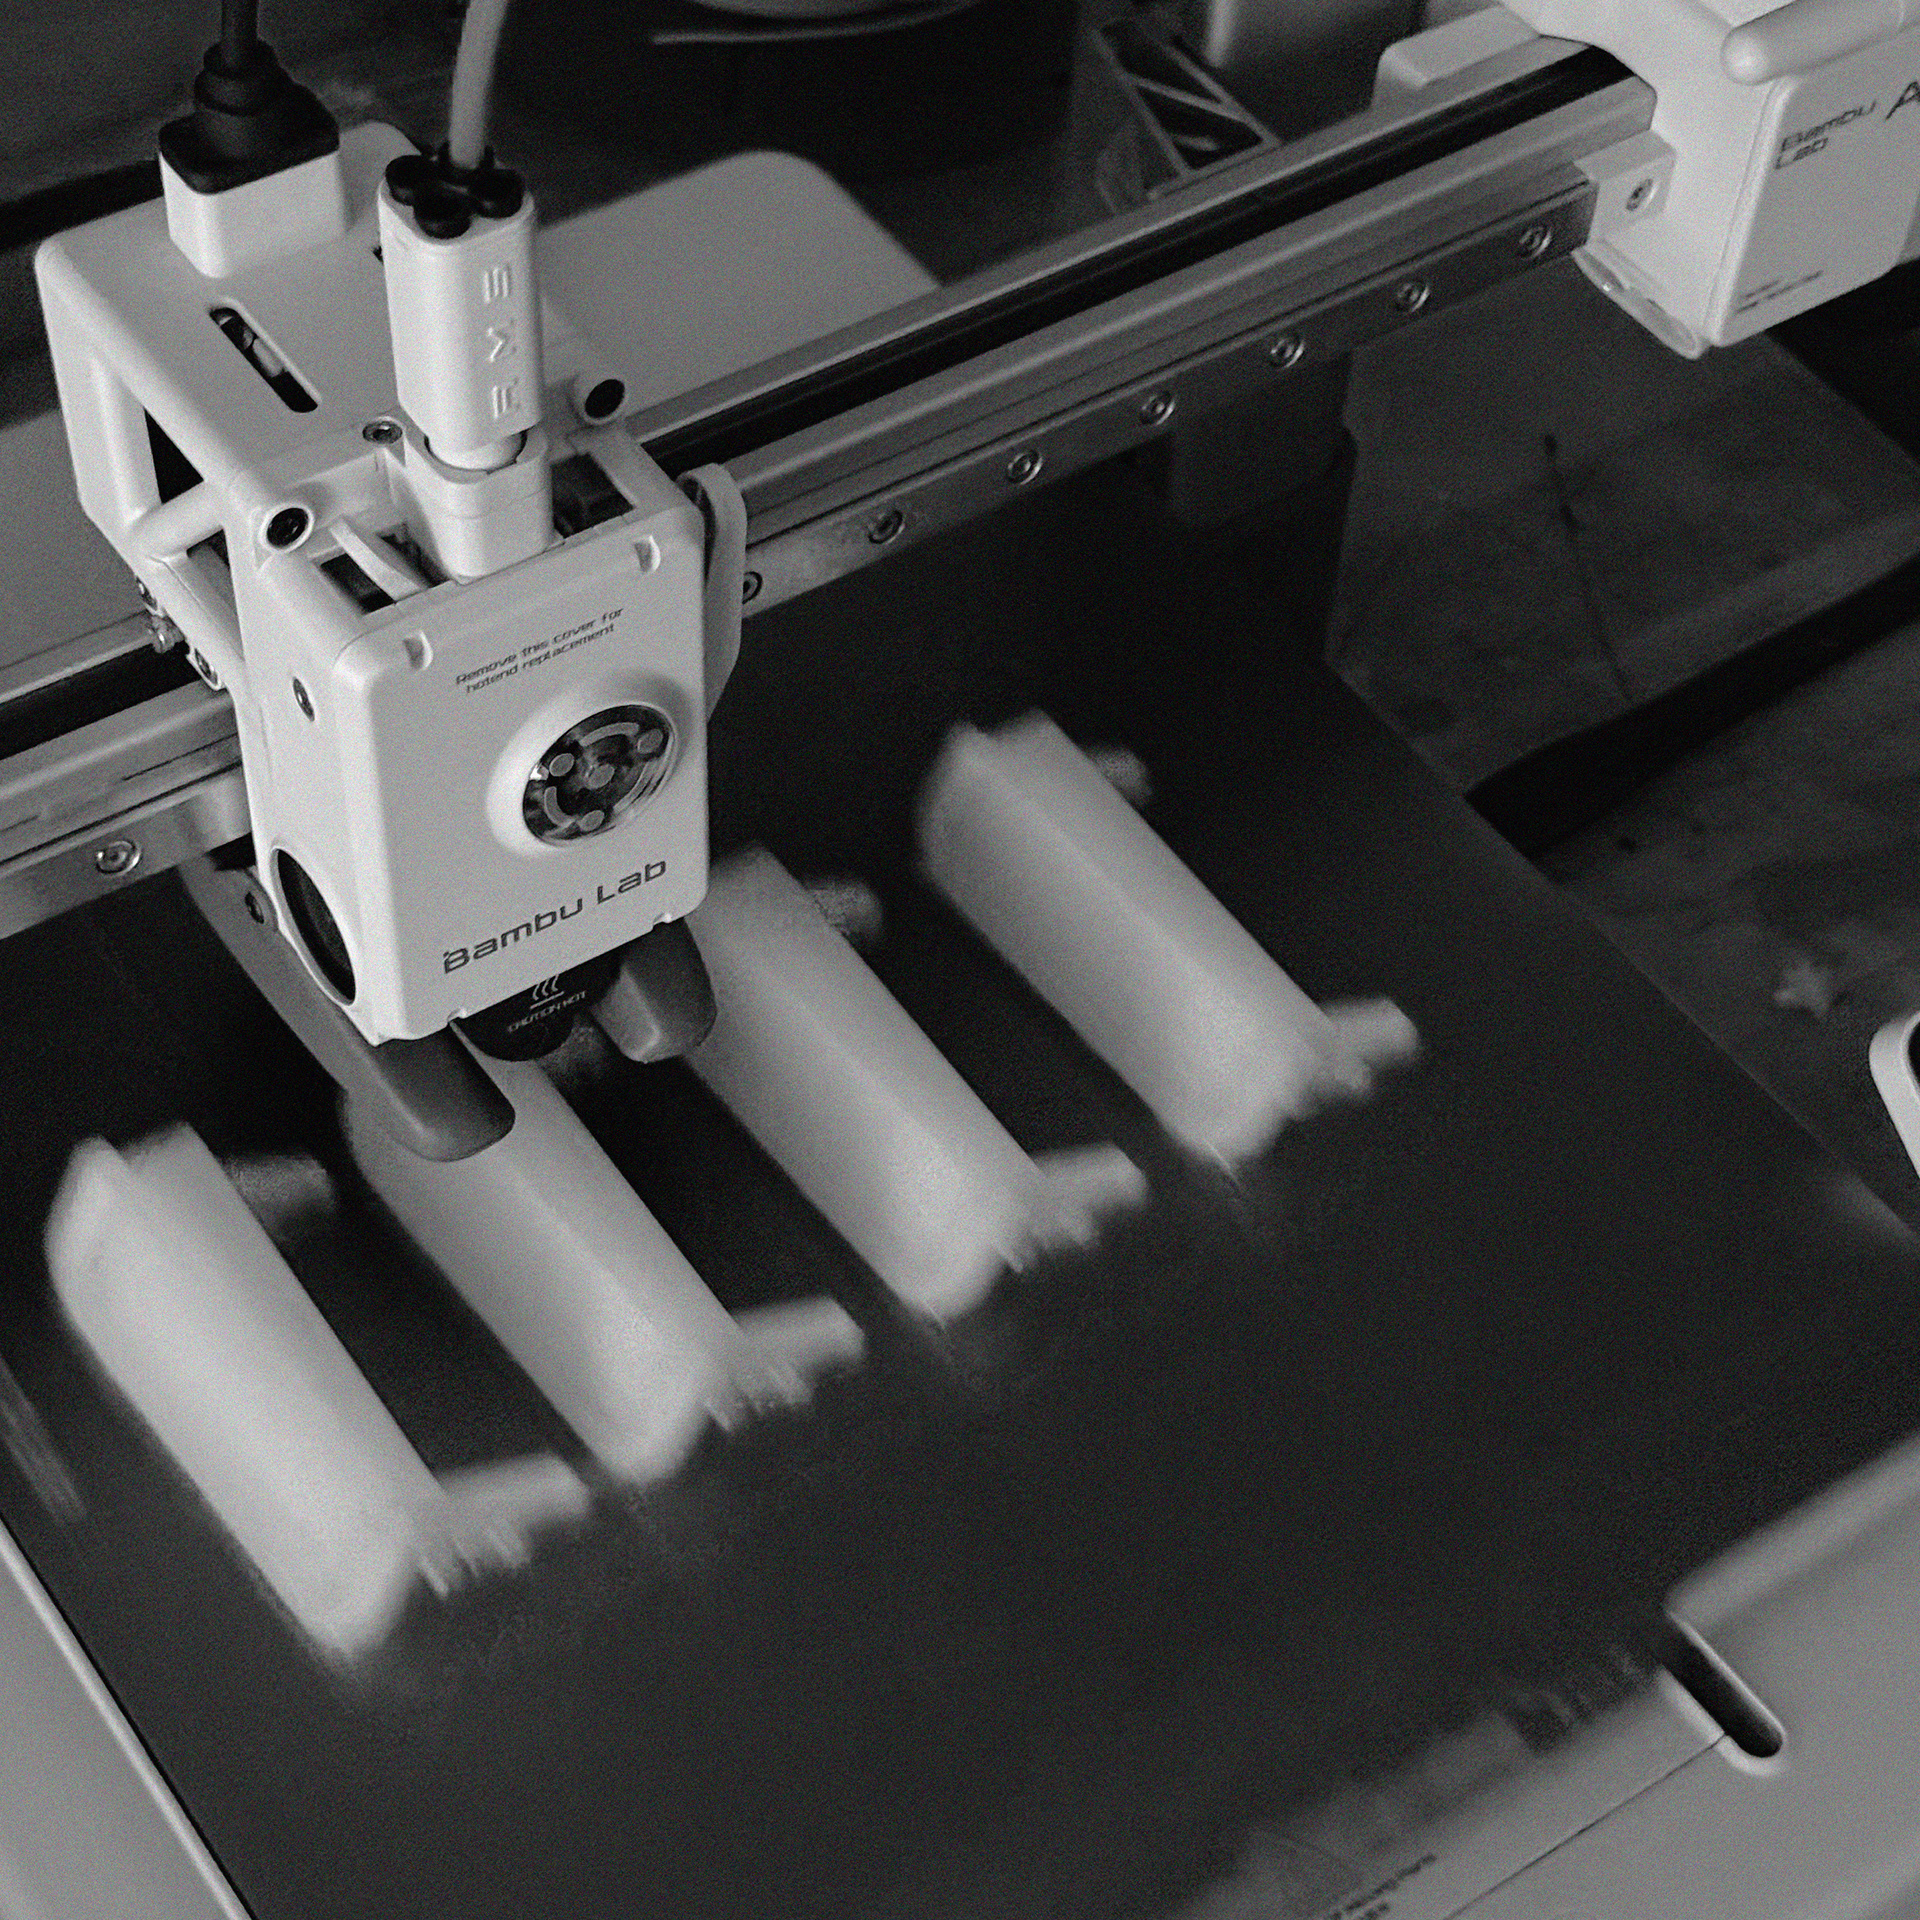
3D Printed Working Prototype
After the initial model building, adjustments were made to the shell, and 4 individual buttons were 3D modeled on Autodesk Fusion 360, that snap directly onto the existing breadboard buttons. This included very close attention to measurements, fit tolerances, and materials. Shown above is a short video clip of the prototype in action, with a randomized puzzle function.